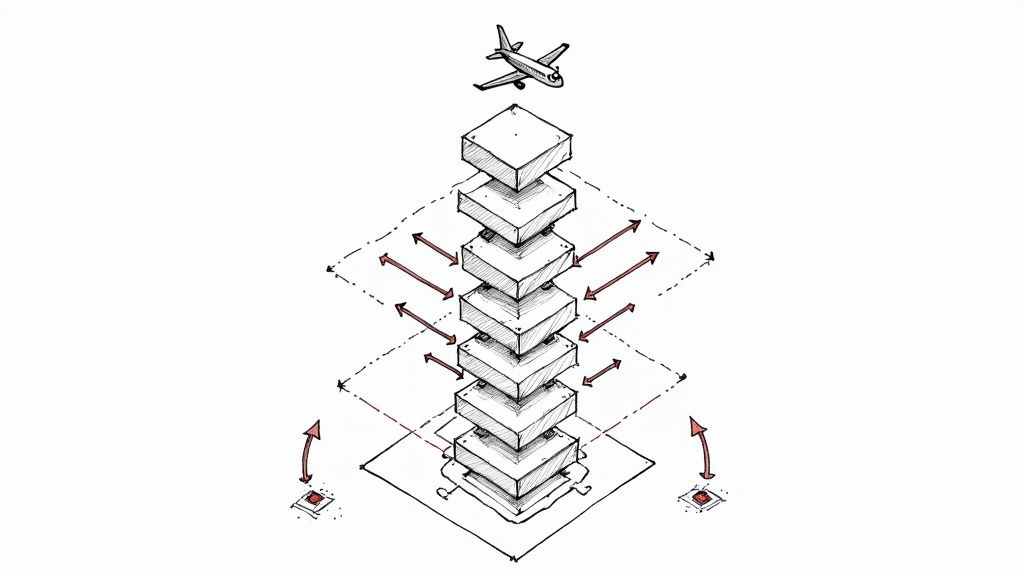
A software development team structure isn't just an organizational chart; it's the architectural blueprint that dictates how your engineering teams build, deploy, and maintain software. It defines role-based access controls, establishes communication protocols, and dictates the workflow from git commit to production release. The right structure directly impacts key engineering metrics like deployment frequency, change failure rate, and mean time to recovery (MTTR).
Your Blueprint for High-Performance Development
Choosing a software development team structure is a foundational engineering decision with long-term consequences. This isn't a one-size-fits-all problem. The optimal model is a function of your project's technical complexity, the business objectives, your existing tech stack, and the engineering culture you want to foster.
Think of it as designing a system's architecture. A flawed team structure creates communication bottlenecks and process friction, just as a flawed system design leads to performance issues and technical debt. This guide provides a practical framework for architecting and evolving a team structure that directly supports your technical and business goals.
Why Structure Is a Technical Imperative
In modern software engineering, organizational design is a strategic imperative, not an administrative task. This guide will dissect the core tension between traditional hierarchical models and contemporary agile frameworks to help you engineer teams that are optimized for high-velocity, high-quality output.
The pressure to optimize is significant. The global shortage of software engineers is projected to reach 3.5 million positions by 2025, demanding maximum efficiency from existing talent.
Furthermore, with 78% of software engineering teams operating in distributed environments, maintaining code quality and minimizing communication latency are critical challenges. Data shows that companies who successfully implement effective team structures in these contexts report a 42% higher sprint completion rate and a 35% improvement in code quality metrics like lower cyclomatic complexity and higher test coverage. For a deeper analysis of this impact, FullScale.io offers a detailed write-up on how team structure affects distributed work.
A suboptimal team architecture inevitably leads to technical failures:
- Communication Bottlenecks: Information gets trapped in silos, blocking asynchronous decision-making and causing sprint delays.
- Reduced Velocity: Ambiguous ownership and complex handoffs between teams (e.g., dev-to-QA-to-ops) increase feature cycle times.
- Technical Debt Accumulation: Without clear domain ownership and accountability for non-functional requirements, teams prioritize features over maintenance, leading to a brittle codebase.
- Decreased Innovation: Rigid structures stifle autonomy, preventing engineers from experimenting with new technologies or architectural patterns that could improve the system.
A well-architected team structure acts as a force multiplier for engineering talent. It aligns individual expertise with project requirements, clarifies code and system ownership, and establishes communication protocols that enable rapid, high-quality, and secure software delivery.
Ultimately, your team structure is the engine driving your technical strategy. It dictates how work is decomposed, how technical decisions are ratified, and how value is delivered to end-users, making it a cornerstone of any high-performing engineering organization.
To provide a concrete starting point, let's categorize the common models. This table offers a high-level overview of primary team structures, their core operating principles, and their ideal use cases.
Key Software Development Team Structures at a Glance
| Model Type | Core Principle | Best For |
|---|---|---|
| Generalist (Startup) | A small, multi-skilled team where engineers are T-shaped and handle tasks across the stack. | Early-stage products or MVPs requiring high flexibility and rapid prototyping over architectural purity. |
| Functional (Siloed) | Teams are organized by technical discipline (e.g., Backend API, Frontend Web, Mobile iOS, QA Automation). | Large organizations with stable, monolithic systems where deep, specialized expertise is paramount for risk mitigation. |
| Cross-Functional (Agile) | Self-sufficient teams containing all necessary roles (dev, QA, UX, product) to ship a feature end-to-end. | Agile and DevOps environments focused on rapid, iterative delivery of vertical slices of product functionality. |
| Pod/Squad (Product-Aligned) | Autonomous, cross-functional teams aligned to specific product domains or business capabilities (e.g., "Checkout Squad"). | Scaling agile organizations aiming to minimize inter-team dependencies and maximize ownership as they grow. |
Each of these models presents a distinct set of technical trade-offs, which we will now explore in detail. Understanding these nuances is the first step toward architecting a team that is engineered to succeed.
Breaking Down Foundational Team Models
Before architecting an advanced team structure, it's essential to understand the two foundational philosophies every model is built upon: the Generalist model and the Specialist model. These aren't abstract concepts; they are the architectural patterns that dictate communication flows, innovation velocity, and where system bottlenecks are likely to emerge.
Each approach comes with a specific set of technical trade-offs. Choosing between them is a critical architectural decision that requires matching your team's design to the specific technical and business problems you need to solve.
Let's dissect each model with practical, technical examples to illustrate their real-world implementation.
The Generalist Model for Speed and Adaptability
The Generalist (or Egalitarian) model is the default for most early-stage startups and R&D teams operating in high-uncertainty environments. This structure is composed of a small team of T-shaped engineers where titles are fluid and responsibilities are shared across the stack.
Consider a fintech startup building an MVP for a new payment processing application. The requirements are loosely defined, market validation is pending, and the primary objective is shipping a functional prototype—fast. A typical Generalist team here would consist of three to five full-stack engineers, a product-minded designer, and a founder acting as the product owner.
Communication is high-bandwidth, informal, and constant, often facilitated by daily stand-ups and a shared Slack channel. There is no rigid hierarchy; technical leadership is situational. The engineer with the most context on a specific problem—be it optimizing a database query or debugging a React component—takes the lead.
The technical advantages are significant:
- High Velocity: Minimal process overhead and zero hand-offs between specialized roles allow for extremely rapid feature development and deployment.
- Flexibility: Team members can context-switch between backend API development, frontend UI implementation, and basic infrastructure tasks, eliminating idle time and resource bottlenecks.
- Shared Ownership: Every engineer feels accountable for the entire application, fostering a strong culture of collective code ownership and proactive problem-solving.
However, this model has inherent technical risks. Without dedicated architectural oversight, the codebase can suffer from architectural drift. This occurs when a series of localized, tactical decisions leads to an accumulation of inconsistent patterns and technical debt, resulting in a system that is difficult to maintain and scale. The "move fast and break things" ethos can quickly produce a brittle, monolithic application.
The Specialist Model for Complexity and Stability
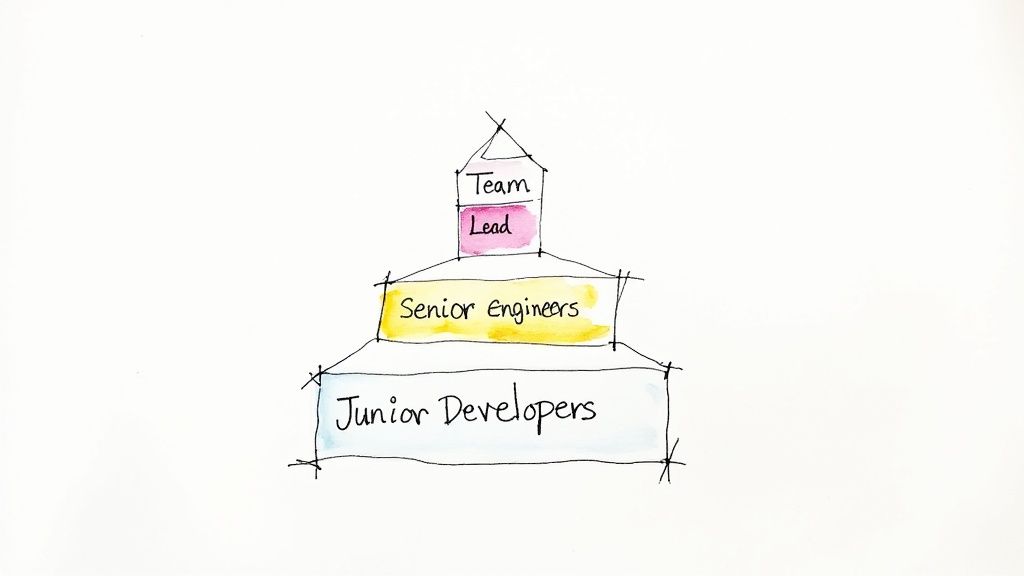
At the opposite end of the spectrum is the Specialist (or Hierarchical) model, designed for large-scale, complex systems where domain expertise and risk mitigation are paramount. This structure organizes engineers into functional silos based on their technical discipline—backend, frontend, database administration, QA automation, etc.
Imagine a global financial institution re-architecting its core transaction processing engine. This is a mission-critical system with high complexity, stringent security requirements (e.g., PCI DSS compliance), and deep integrations with legacy mainframe systems. Success here demands precision, stability, and adherence to rigorous standards.
The team structure is formal and hierarchical. A software architect defines the high-level design, which is then implemented by specialized teams. You might have a team of Java engineers building backend microservices, a dedicated frontend team using Angular, and a separate QA team developing comprehensive automated test suites. Communication is formalized through project managers and team leads, with JIRA tickets serving as the primary interface between teams.
This hierarchical approach prioritizes depth over breadth. By creating teams of deep domain experts, organizations can manage immense technical complexity and mitigate the risks associated with mission-critical systems.
The primary benefits of this software development team structure are:
- Deep Expertise: Specialists develop mastery in their domain, leading to highly optimized, secure, and robust software components.
- Clear Accountability: With well-defined roles, ownership of specific parts of the system is unambiguous, simplifying bug triage and maintenance.
- Scalability and Standards: This model excels at enforcing consistent coding standards, architectural patterns, and security protocols across a large engineering organization.
The most significant technical drawback is the creation of knowledge silos. When expertise is compartmentalized, cross-functional collaboration becomes slow and inefficient. A simple feature requiring a change to both the backend API and the frontend UI can become stalled in a queue of inter-team dependencies and hand-offs, crippling delivery velocity and innovation.
How Agile and DevOps Reshape Team Architecture
The transition from traditional, waterfall-style development to modern engineering practices is not merely a process adjustment; it's a paradigm shift that fundamentally re-architects the software development team structure. Agile and DevOps are not just buzzwords; they are cultural frameworks that mandate new team designs optimized for speed, collaboration, and end-to-end ownership.
These methodologies demolish the functional silos that separate roles and responsibilities. The linear, assembly-line model—where work passes from one specialized team to the next—is replaced by small, autonomous, cross-functional teams capable of delivering value independently. This is the foundational principle for any organization committed to accelerating its software delivery lifecycle.
Agile and the Rise of the Cross-Functional Team
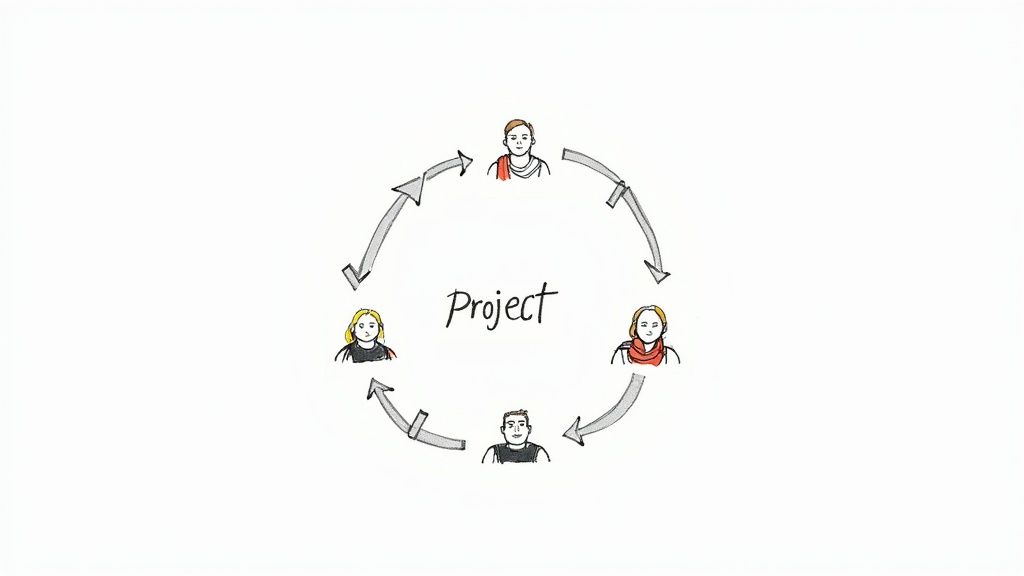
Agile's most significant contribution to team design is the cross-functional team. This is an autonomous unit possessing all the necessary skills to deliver a complete, vertical slice of functionality. Every member has deep expertise in one area (e.g., backend development, UI/UX design, test automation) but collaborates fluidly to achieve a shared sprint goal.
This model is a direct solution to the bottlenecks created by functional silos. Instead of a developer filing a JIRA ticket and waiting for a separate database team to approve a schema migration, the database expert is embedded within the development team. This co-location of skills reduces feedback loops and decision-making latency from days to minutes.
Agile teams are characterized by a flat structure, self-organization, and the breakdown of traditional silos. This design fosters deep collaboration across all functions—product management, development, and testing. For a practical look at this structure, review this insightful article from Relevant.software.
A typical Agile Scrum team is built around three core roles:
- The Product Owner: Acts as the interface to the business, owning the what. They are responsible for managing the product backlog, defining user stories with clear acceptance criteria, and prioritizing work based on business value.
- The Scrum Master: A servant-leader and facilitator, not a project manager. Their role is to remove impediments, protect the team from external distractions, and ensure adherence to Agile principles and practices.
- The Development Team: A self-managing group of engineers, designers, and QA professionals who collectively own the how. They have the autonomy to make technical decisions, from architectural design to testing strategies, to best meet the sprint goals.
This structure's success hinges on high-bandwidth communication and shared context, enabling the rapid, iterative delivery that is the hallmark of Agile methodologies.
DevOps and the "You Build It, You Run It" Culture
DevOps extends Agile's collaborative principles to encompass the entire software lifecycle, from development to production operations. It dismantles the "wall of confusion" that has traditionally existed between development teams (incentivized to ship features quickly) and operations teams (incentivized to maintain stability).
The goal is to create a single, unified team that owns an application's entire lifecycle—from coding and testing to deployment, monitoring, and incident response.
At its core, DevOps is defined by the philosophy: "You build it, you run it." This principle dictates that developers are not only responsible for writing code but also for its operational health, including its reliability, security, and performance in production.
This shift in ownership has profound implications for team structure and required skill sets. A DevOps-oriented team must possess expertise across a broad range of modern engineering practices and tools.
Essential technical capabilities for a DevOps team include:
- CI/CD Pipelines: The team must be able to architect, build, and maintain automated pipelines for continuous integration and delivery using tools like Jenkins, GitLab CI, or GitHub Actions.
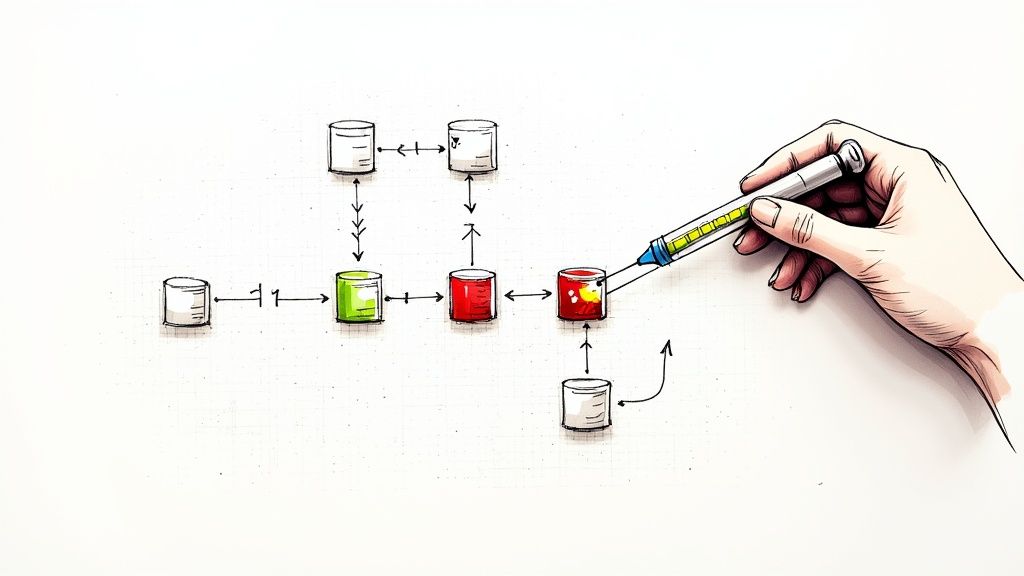
- Infrastructure as Code (IaC): Developers must be proficient in provisioning and managing infrastructure declaratively using tools like Terraform or AWS CloudFormation. This practice eliminates manual configuration drift and ensures environment consistency.
- Automated Observability: The team is responsible for implementing comprehensive monitoring, logging, and tracing solutions (e.g., Prometheus and Grafana, or the ELK Stack) to gain deep, real-time insights into application performance and system health.
This model fosters a culture of accountability where feedback from production—such as error rates and latency metrics—is piped directly back into the development process. It is the definitive structure for organizations targeting elite-level deployment frequency and operational stability. To understand the evolution of this model, explore our analysis of platform engineering vs DevOps.
Analyzing the Technical Trade-Offs of Each Model
Every decision in designing a software development team structure involves engineering trade-offs. There is no universally optimal solution; the goal is to select the model whose compromises are most acceptable for your specific context. Let's move beyond generic pros and cons to analyze the concrete technical consequences of each structural choice.
A traditional hierarchical structure excels at creating deep specialization and clear lines of accountability, which is critical when managing complex, high-risk legacy systems. The trade-off is that its rigid communication pathways often become performance bottlenecks. A simple API change might require JIRA tickets and formal approvals across multiple siloed teams (e.g., backend, security, DBA), extending delivery timelines from days to weeks.
Conversely, a flat Agile structure is optimized for velocity and innovation, empowering cross-functional teams to pivot rapidly. However, without strong, centralized technical governance, it can lead to significant technical debt. Multiple teams might solve similar problems in divergent ways, resulting in architectural fragmentation and increased operational complexity (e.g., supporting multiple databases or caching layers).
Development Velocity vs. System Stability
A primary trade-off is between the speed of delivery and the stability of the system. Agile and DevOps models are explicitly designed to maximize development velocity by using small, autonomous teams to shorten feedback loops and accelerate code deployment.
This relentless focus on speed can compromise stability if not properly managed. The pressure to meet sprint deadlines can lead to inadequate testing, poor documentation, and the deferral of non-functional requirements, introducing fragility into the system.
In contrast, a hierarchical or specialist model prioritizes stability and correctness. Its formal code review processes, stage-gated release cycles, and dedicated QA teams ensure that every change is rigorously vetted. This approach produces highly robust systems but at the cost of slower innovation, making it unsuitable for markets that demand rapid adaptation.
Creative Autonomy vs. Architectural Coherence
Another critical tension exists between granting teams creative autonomy and maintaining a cohesive system architecture. A highly autonomous, product-aligned squad fosters a strong sense of ownership and is incentivized to innovate within its domain. Teams are free to select the optimal tools and technologies for their specific problem space.
The inherent risk is architectural fragmentation. One team might build a new microservice using Python and PostgreSQL, while another chooses Node.js and MongoDB. While both decisions may be locally optimal, the organization now must support, monitor, and secure two distinct technology stacks, increasing cognitive load and operational overhead.
A common mitigation strategy is to establish a centralized platform engineering team or an architectural review board. This group defines a "paved road" of approved technologies, patterns, and libraries. This provides teams with autonomy within established guardrails, balancing innovation with long-term maintainability.
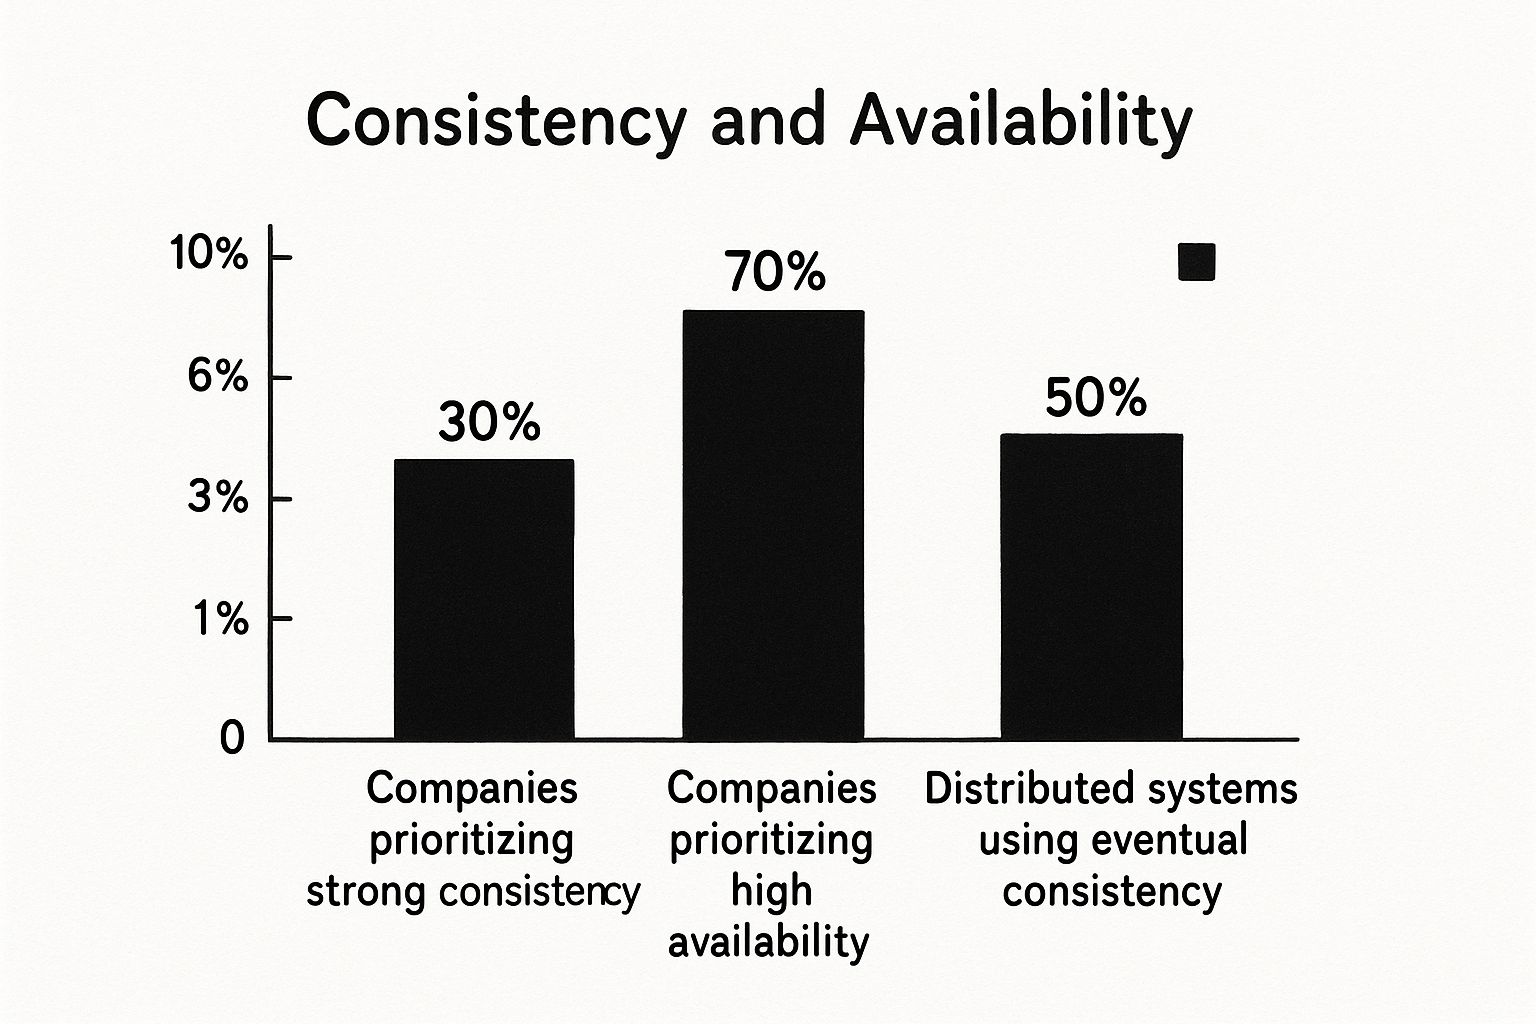
The structure of your teams directly impacts project outcomes. Research shows that factors like team size, communication latency, and psychological safety are critical. Cross-functional teams with tight feedback loops demonstrate higher rates of innovation, whereas overly hierarchical teams struggle to adapt to changing requirements. You can delve deeper into how these organizational choices affect technical outcomes in this detailed analysis from Softjourn.com.
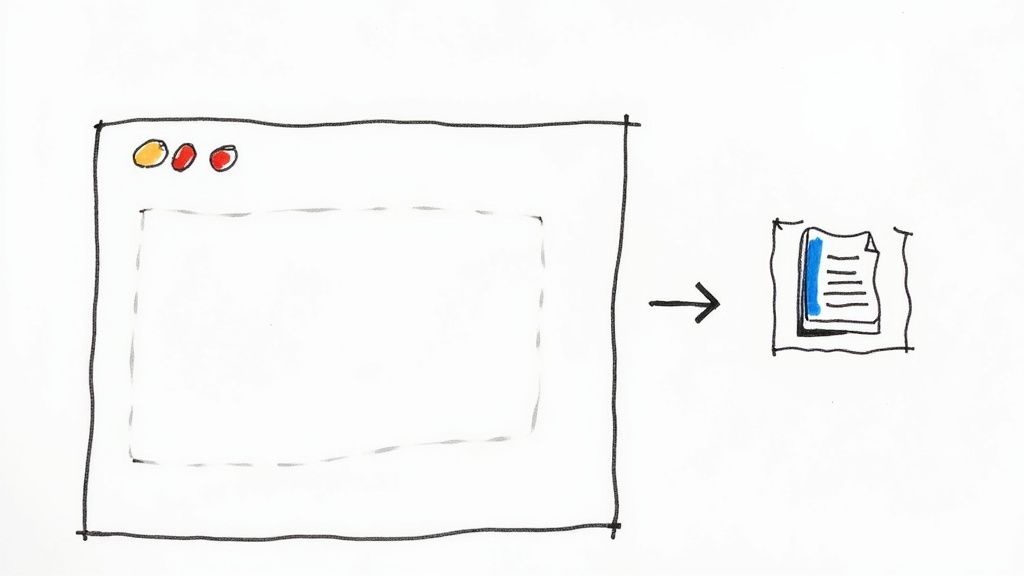
The infographic below visualizes the operational differences between Agile and the traditional Waterfall model.
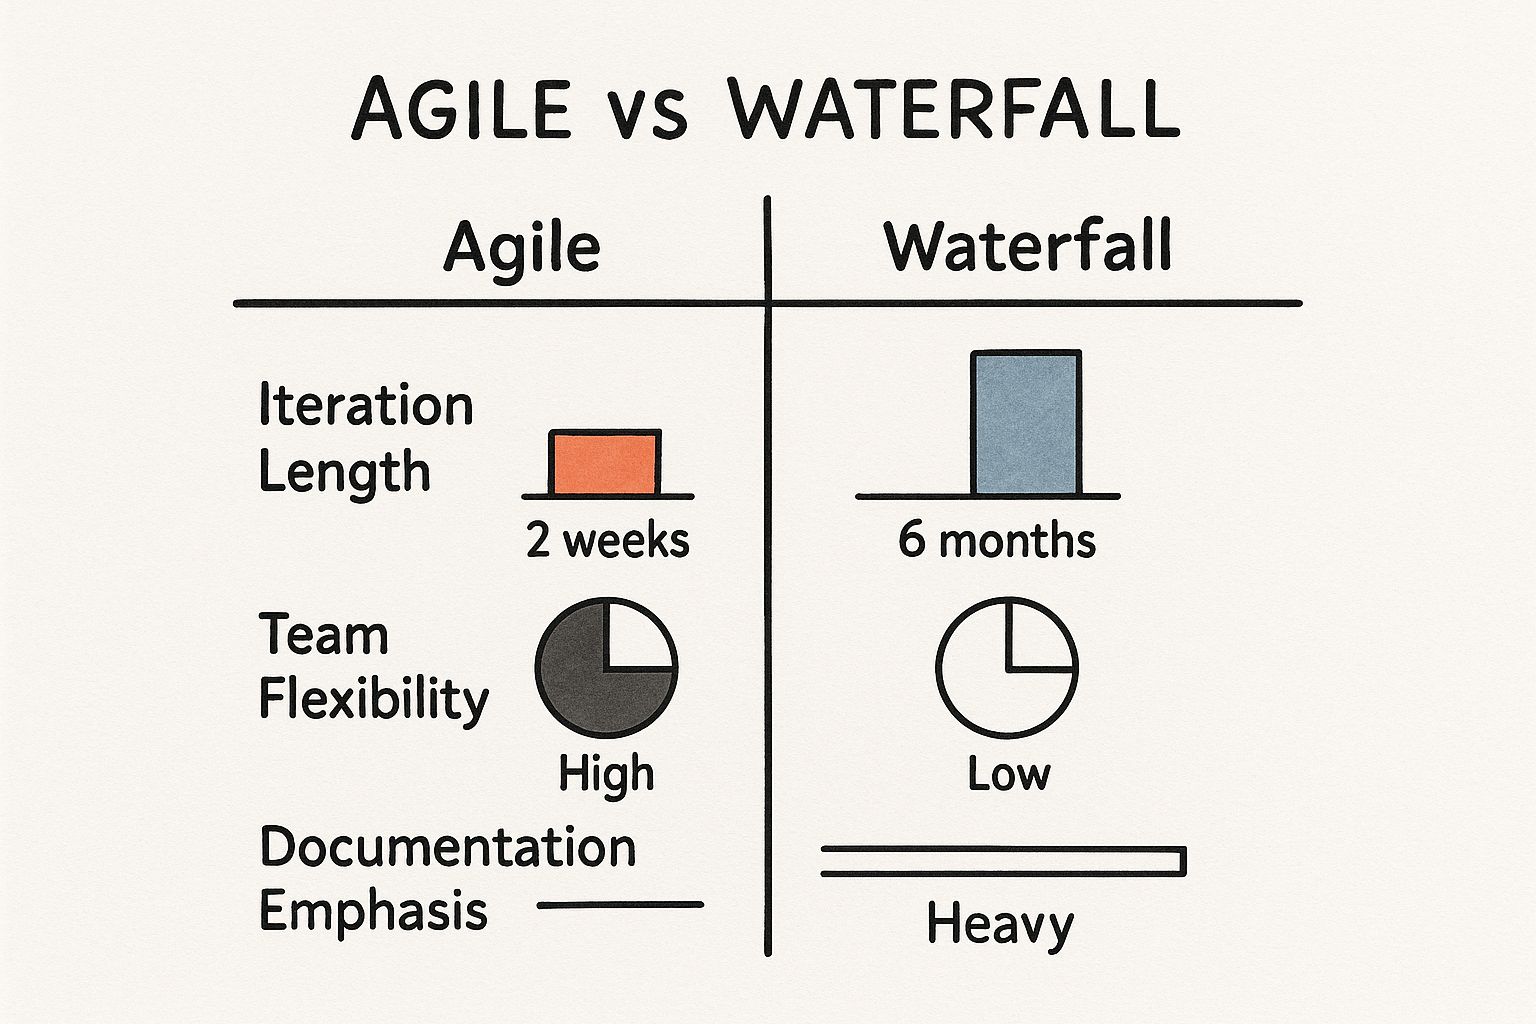
It starkly contrasts Agile’s short, iterative cycles with Waterfall’s rigid, sequential phases.
Short-Term Delivery vs. Long-Term Maintainability
Finally, every structural decision impacts the total cost of ownership of your software. A generalist team may be highly effective at rapidly delivering an MVP, but they may lack the deep expertise required to optimize a database for performance at scale, leading to expensive refactoring efforts later.
The specialist model, while initially slower, builds components designed for longevity. A dedicated database team ensures that schemas are properly normalized and queries are optimized from the outset. This upfront investment reduces long-term maintenance costs and improves system performance.
To help you navigate these trade-offs, the following table compares the models across key technical dimensions.
Comparative Analysis of Team Structure Trade-Offs
This table provides a direct comparison of hierarchical, agile, and DevOps models across critical technical and business attributes to facilitate an informed decision.
| Attribute | Hierarchical Model | Agile Model | DevOps Model |
|---|---|---|---|
| Speed of Delivery | Slow; gated approvals create delays. | Fast; optimized for rapid iteration. | Very Fast; automation removes friction. |
| System Stability | High; rigorous vetting and QA. | Variable; depends on discipline. | High; "you build it, you run it" culture. |
| Innovation | Low; discourages experimentation. | High; encourages rapid learning. | High; fosters experimentation safely. |
| Architectural Coherence | High; centrally managed. | Low; risk of fragmentation. | Medium; managed via platforms/patterns. |
| Team Autonomy | Low; top-down control. | High; team-level decision making. | High; autonomy within guardrails. |
| Operational Overhead | High; manual handoffs. | Medium; shared responsibilities. | Low; high degree of automation. |
| Long-Term Maintainability | High; built by specialists. | Variable; risk of tech debt. | High; focus on operability. |
Ultimately, selecting the right software development team structure requires a rigorous assessment of these trade-offs, aligning your team's architecture with your specific business and technical imperatives.
A Framework for Picking Your Team Structure
Choosing a software development team structure is a critical architectural decision that has a direct impact on your codebase, deployment pipelines, and overall product quality. The right model can act as an accelerator, while the wrong one introduces friction and impedes progress.
Rather than adopting a popular model without analysis, use this diagnostic framework to make an informed decision based on your specific context. By evaluating your project, company, and team through these four lenses, you can move from guesswork to a well-reasoned architectural choice. When in doubt, applying effective decision-making frameworks can help clarify the optimal path.
Evaluate Project Type and Complexity
The nature of the work is the most critical factor. The team required to build a new product from the ground up is structurally different from one needed to maintain a critical legacy monolith.
For a greenfield project, such as a new SaaS application, the primary goal is rapid iteration to achieve product-market fit. This scenario is ideal for a cross-functional Agile or squad model. A self-sufficient team with all necessary skills (backend, frontend, QA, product) can build, test, and deploy features independently, minimizing external dependencies.
Conversely, consider the task of refactoring a mission-critical legacy system. This requires surgical precision and deep, specialized knowledge. A specialist or hierarchical model is a more appropriate choice. You need dedicated experts in specific technologies (e.g., COBOL, Oracle databases) to carefully deconstruct and modernize the system without disrupting business operations.
Ask these technical questions:
- New build or maintenance? Greenfield projects favor flexible Agile structures. Legacy system maintenance often requires the deep expertise of specialist teams.
- What is the level of technical uncertainty? High uncertainty necessitates a cross-functional team that can quickly iterate and adapt to new information.
- What is the degree of system coupling? Tightly coupled, monolithic systems may require a more coordinated, top-down approach to manage integration complexity.
Analyze Company Scale and Culture
Your company's size and engineering culture establish the constraints within which your team structure must operate. A five-person startup functions differently from a multinational corporation with thousands of developers and stringent compliance requirements.
In a small startup, the culture prioritizes speed and autonomy. A flat, generalist structure is a natural fit, minimizing administrative overhead and empowering engineers to contribute across the stack—from writing backend services to deploying infrastructure.
In a large, regulated enterprise (e.g., finance, healthcare), the culture is built on stability, security, and auditability. This context necessitates a more formal, specialist structure. Clear roles, documented processes, and formal handoffs between development, QA, security, and operations are essential for compliance and risk management. Your organization's current operational maturity is a key factor; assess where you stand by reviewing DevOps maturity levels and how they influence team design.
The optimal structure is one that aligns with your company's risk tolerance and communication patterns. Forcing a flat, autonomous squad model onto a rigid, hierarchical culture will result in failure.
Consider the Product Lifecycle Stage
Engineering priorities evolve as a product moves through its lifecycle. The team structure that was effective during the R&D phase will become a bottleneck during the growth and maturity phases.
During the initial R&D or MVP stage, the objective is rapid learning and validation. A flexible, Agile team with a strong product owner is ideal. This team can quickly incorporate user feedback and iterate on the product in short cycles.
Once a product reaches the mature, stable stage, the focus shifts to optimization, scalability, and reliability. At this point, forming a dedicated DevOps or Site Reliability Engineering (SRE) team becomes crucial. This team's mission is to ensure the system's operational health as it scales, allowing feature teams to continue delivering value. For a product in decline or "maintenance mode," a small, focused team of specialists is often sufficient.
Map Your Team's Skill Matrix
Finally, you must conduct a realistic assessment of your team's existing talent. The most well-designed team structure will fail if you lack the necessary skills to implement it. The distribution of senior, mid-level, and junior engineers on your team dictates which models are viable.
A senior-heavy team can thrive in a highly autonomous, flat structure like a squad model. These engineers are capable of self-organization, making sound architectural decisions, and mentoring one another without direct supervision. They possess the experience to manage technical debt and maintain a high standard of quality.
Conversely, a team with a higher proportion of junior or mid-level engineers requires more structure and support. A more hierarchical model with a designated tech lead or a well-defined Agile process with an active Scrum Master provides necessary guardrails. This structure ensures mentorship, enforces code quality standards, and prevents junior developers from introducing significant architectural flaws.
Implementing and Evolving Your Team Design
A software team structure is not a static artifact; it is a living system that must adapt to new technical challenges, evolving business objectives, and the changing dynamics of your team. Implementing a new design requires a deliberate and strategic approach, while its long-term success depends on your ability to measure, analyze, and iterate.
The initial rollout is a critical phase. Success hinges on clarity and preparation. It requires more than just a new org chart; you must define clear ownership boundaries, information flows, and the toolchains that will support the new operational model. A solid understanding of effective change management processes is essential for a smooth transition and universal buy-in.
Setting Up for Success
To successfully operationalize your new structure, focus on these three pillars:
- Crystal-Clear Role Definitions: Author detailed documents outlining the technical responsibilities, decision-making authority, and key performance indicators (KPIs) for each role. This eliminates ambiguity and empowers individuals.
- Well-Defined Communication Lines: Establish explicit protocols for both synchronous (e.g., stand-ups, planning sessions) and asynchronous communication. For remote or distributed teams, this is non-negotiable. Our guide on remote team collaboration tools can help you select the right platforms.
- Purpose-Built Toolchains: Your tools must reflect your team structure. For an Agile model, this means well-configured boards in Jira or Azure DevOps. For a DevOps team, it requires robust CI/CD pipelines and shared observability platforms that provide a single source of truth for system health.
Monitoring and Iterating with Engineering Metrics
Ultimately, organizational design is about agility. Your team structure should be data-driven. To determine if your structure is effective, you must continuously track key engineering metrics that provide an objective assessment of your development lifecycle's health and velocity.
A team structure is a hypothesis about the optimal way to deliver value. Like any engineering hypothesis, it must be validated with empirical data. Without metrics, you are operating on assumptions.
Begin by closely monitoring these essential DORA metrics:
- Cycle Time: The time from first commit to production deployment. A decreasing cycle time indicates that your new structure is effectively removing bottlenecks.
- Deployment Frequency: How often you release code to production. High-performing DevOps teams deploy on-demand, a clear indicator of an efficient structure and a highly automated toolchain.
- Change Failure Rate: The percentage of deployments that result in a production failure. A low rate signifies that your team structure promotes quality and stability.
- Mean Time to Recovery (MTTR): The time it takes to restore service after a production failure. A low MTTR demonstrates that your team can collaborate effectively to diagnose and resolve incidents under pressure.
Use this data to inform regular retrospectives focused specifically on team structure and process. Solicit feedback from engineers, analyze the metrics, and make small, iterative adjustments. This continuous feedback loop ensures your software development team structure evolves into a durable competitive advantage.
A Few Common Questions
What Is the Ideal Size for a Software Development Team?
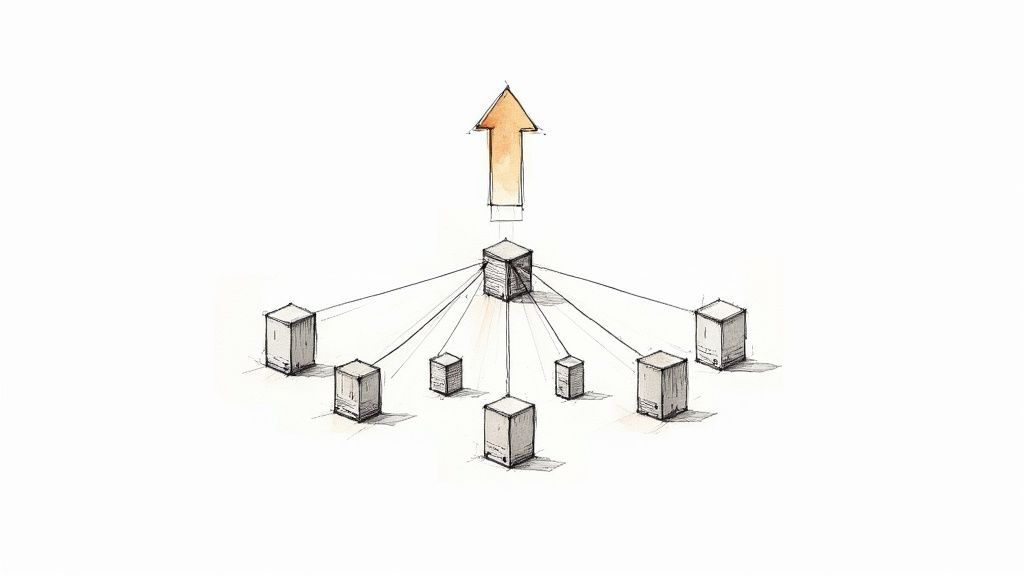
The generally accepted best practice is Amazon's "two-pizza rule"—if a team cannot be fed by two pizzas, it is too large. This typically translates to a team size of five to nine members.
This size is optimal because it is large enough to encompass a diverse skill set but small enough to minimize communication overhead, as described by Brooks's Law. For large-scale projects, it is more effective to create multiple small, autonomous teams that coordinate their efforts rather than a single large team.
Can a Company Use Multiple Team Structures at Once?
Yes, and in larger organizations, a hybrid approach is often necessary and indicative of organizational maturity. Different parts of the business have different needs, and the team structure should reflect that.
For example, an organization might use nimble, cross-functional teams for developing new, innovative products while employing a more traditional, specialist team to maintain a mission-critical legacy system. The key is to avoid a one-size-fits-all mentality and instead match the team structure to the specific technical and business context of the work.
How Does Remote Work Impact Team Structure Choice?
Remote work necessitates a more deliberate and explicit approach to team structure. Models that rely on informal, high-context communication (e.g., overhearing conversations in an office) are less effective.
Structures common in Agile and DevOps—which emphasize clear documentation, asynchronous communication protocols, and well-defined roles—tend to be more successful in remote environments. To succeed with a distributed team, you must invest heavily in project management tools, documentation practices, and a culture that prioritizes clear, intentional communication.
Ready to build an elite DevOps team that accelerates your delivery and improves reliability? OpsMoon connects you with the top 0.7% of remote engineering talent. Get started with a free work planning session to map your DevOps roadmap today at https://opsmoon.com.