Executing a cloud migration successfully requires a deep, technical analysis of your current infrastructure. This is non-negotiable. The objective is to create a detailed strategic blueprint before moving a single workload. This initial phase involves mapping all application dependencies, establishing granular performance baselines, and defining precise success metrics for the migration.
Building Your Pre-Migration Blueprint
A cloud migration is a complex engineering project. A robust pre-migration blueprint transforms that complexity into a sequence of manageable, technically-defined steps. This blueprint is the foundation for the entire project, providing the business and technical justification that will guide every subsequent decision.
Without this plan, you risk unpredicted outages, scope creep, and budget overruns that can derail the entire initiative.
By 2025, an estimated 94% of organizations will utilize cloud infrastructure, storage, or software, often in multi-cloud or hybrid configurations. The average migration project costs approximately $1.2 million and takes around 8 months to complete. These statistics underscore the criticality of meticulous initial planning.
Technical Discovery and Application Mapping
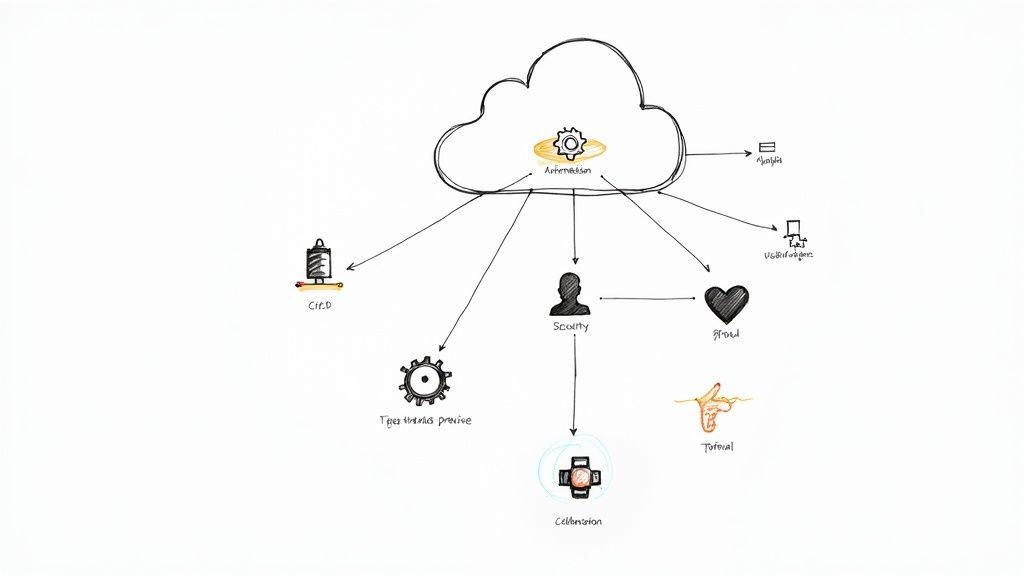
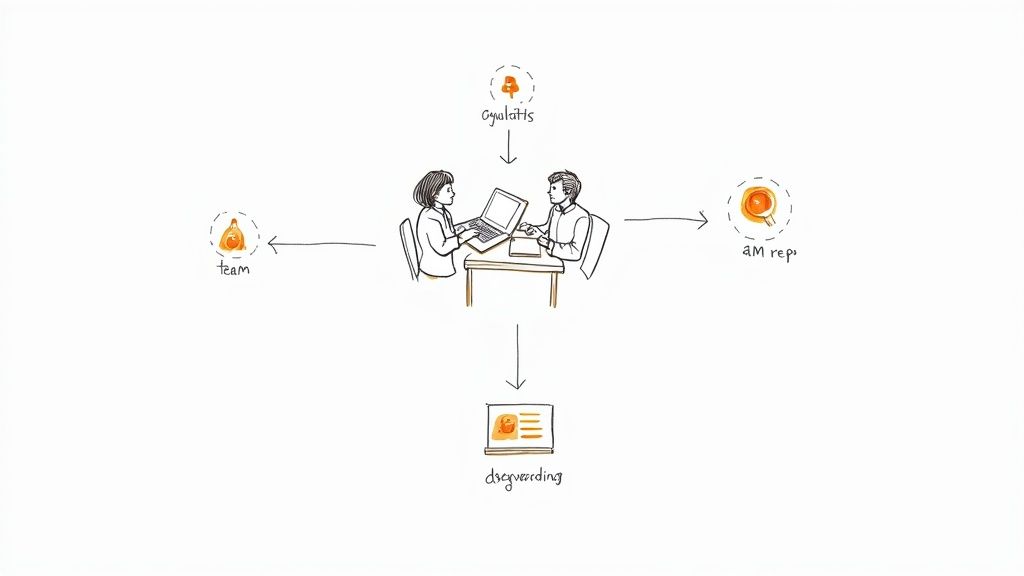
You cannot migrate what you do not fundamentally understand. The first step is a comprehensive inventory of all on-premise assets. This goes beyond a simple server list; it requires a deep discovery process to map the intricate web of dependencies between applications, databases, network devices, and other services.
Automated discovery tools like AWS Application Discovery Service or Azure Migrate are essential for mapping network connections and running processes. However, manual verification and architectural deep dives are mandatory to validate the automated data. The goal is a definitive dependency map that answers critical technical questions:
- What are the specific TCP/UDP ports, protocols, and endpoints for each application's inbound and outbound connections? This data directly informs the configuration of cloud security groups and network access control lists (ACLs).
- Which database instances, schemas, and tables does each application rely on? This is vital for planning data migration strategy, ensuring data consistency, and minimizing application latency post-migration.
- Are there any hardcoded IP addresses, legacy authentication protocols (e.g., NTLMv1), or reliance on network broadcasts? These are common failure points that must be identified and remediated before migration.
I've witnessed migrations fail because teams underestimated the complexity of their legacy systems. A simple three-tier application on a diagram can have dozens of undocumented dependencies—from a cron job on an old server to a dependency on a specific network appliance—that only surface during a production outage. Thorough, technical mapping is your primary defense against these catastrophic surprises.
Performance Baselining and Setting Success Metrics
To validate the success of a migration, you must define the success criteria quantitatively before you start. This requires establishing a granular performance baseline of your on-premise environment.
Collect performance data over a representative period—a minimum of 30 days is recommended to capture business cycle peaks—covering key metrics like CPU utilization (P95 and average), memory usage, disk I/O operations per second (IOPS), and network throughput (Mbps). This data is critical for right-sizing cloud instances and providing empirical proof of the migration's value to stakeholders.
Success metrics must be specific, measurable, achievable, relevant, and time-bound (SMART). Avoid vague goals like "improve performance."
Examples of Strong Technical Success Metrics:
- Reduce P99 API response time for the
/loginendpoint from 200ms to under 80ms. - Decrease the compute cost per transaction by 15%, measured via cost allocation tagging.
- Improve database failover time from 15 minutes to under 60 seconds by leveraging a managed multi-AZ database service.
This quantitative approach provides a clear benchmark to evaluate the outcome of the migration.
Finally, a critical but often overlooked component of the pre-migration plan is the decommissioning strategy for the legacy data center. Formulate a plan for secure and sustainable data center decommissioning and ITAD practices. This ensures a smooth transition, responsible asset disposal, and accurate project budgeting.
Choosing Your Cloud Migration Strategy
With a complete understanding of your current environment, the next technical decision is selecting the right migration strategy for each application. There is no one-size-fits-all solution. The optimal strategy depends on an application's architecture, its business value, and its long-term technology roadmap.
This choice directly impacts the project's cost, timeline, and ultimate success.
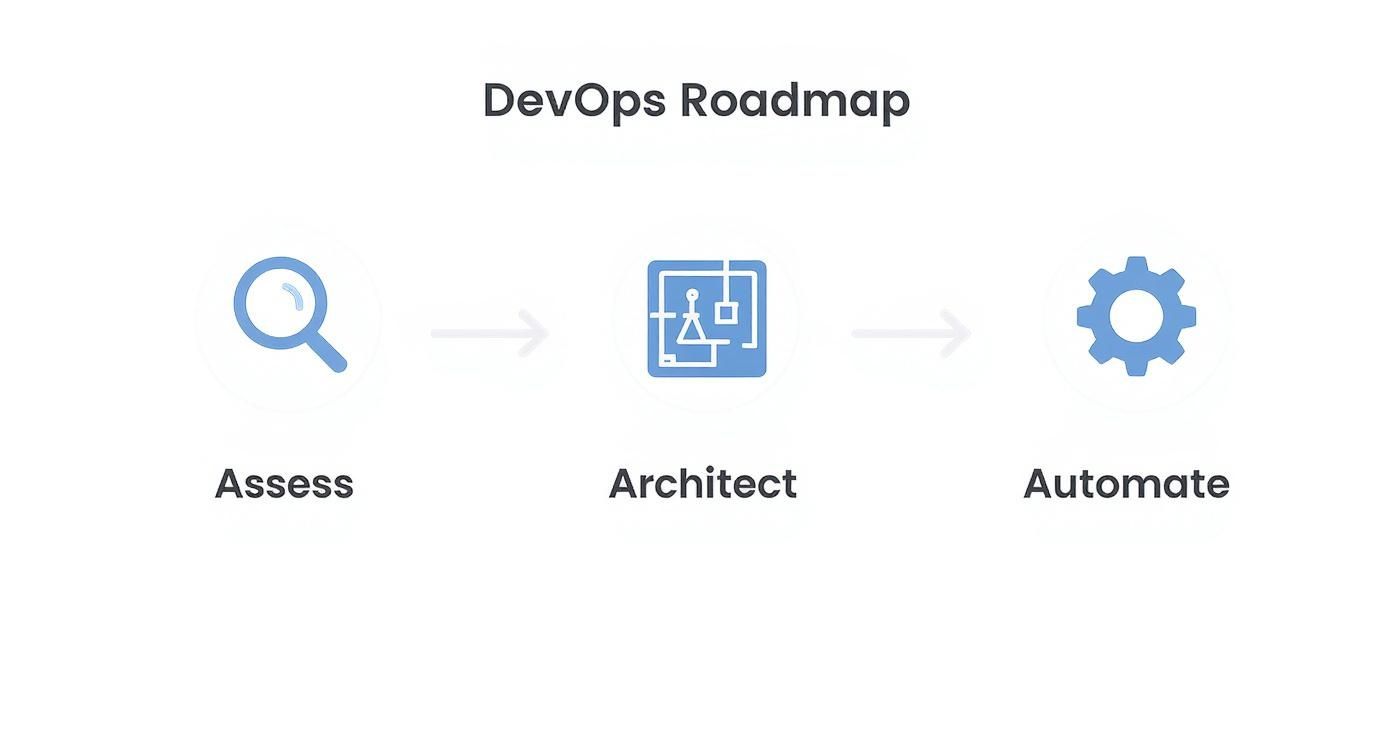
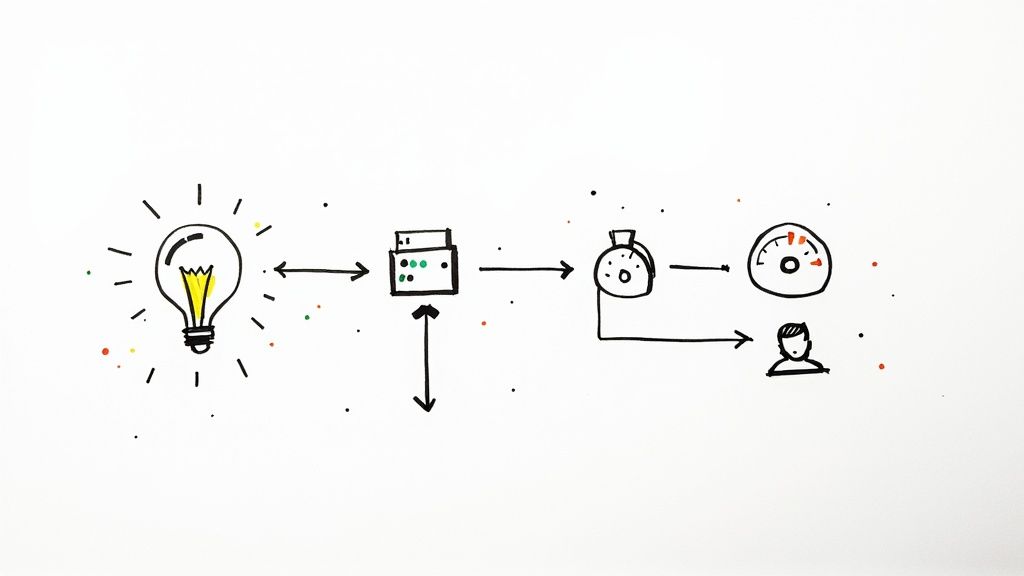
The process begins with a simple question: should this application be migrated at all? This infographic provides a high-level decision tree.
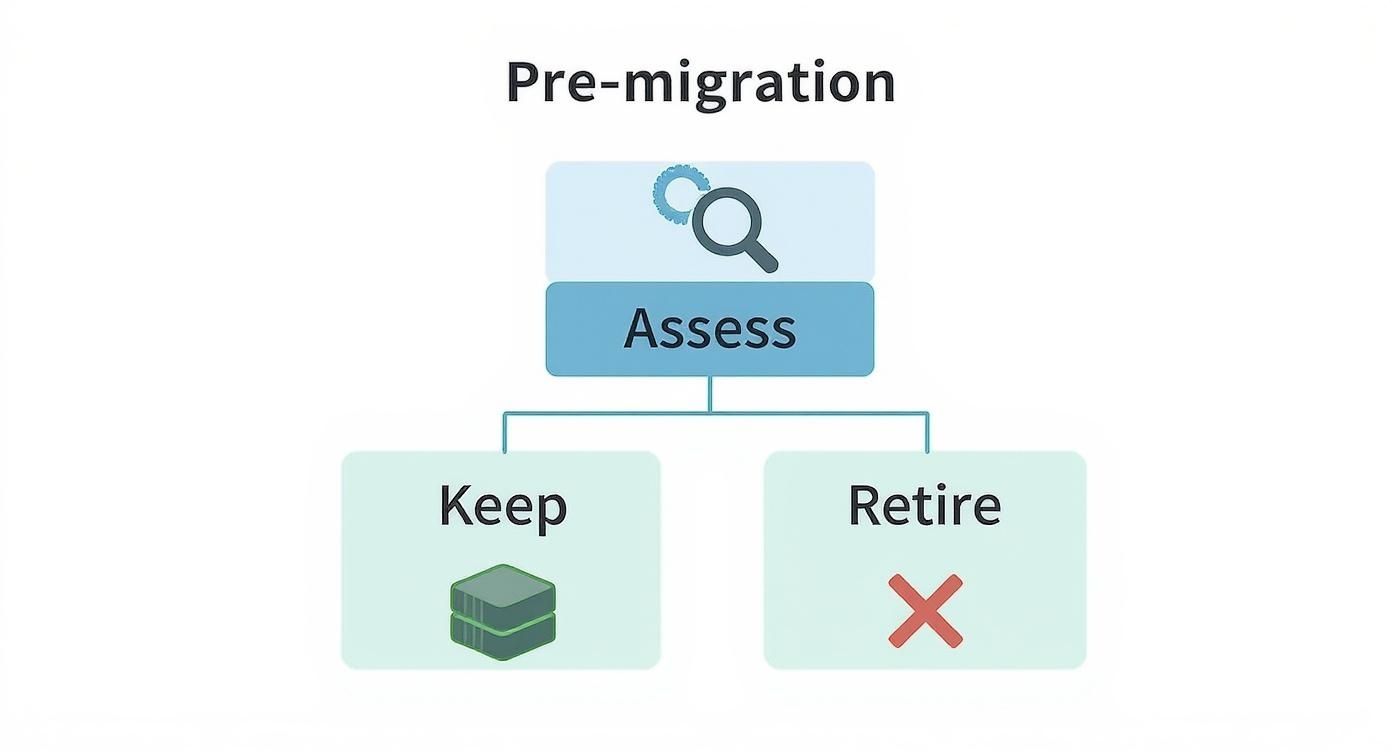
It all starts with assessment. For the applications that warrant migration, we must select the appropriate technical pathway.
The 7 Rs of Cloud Migration
The "7 Rs" is the industry-standard framework for classifying migration strategies. Each "R" represents a different level of effort, cost, and cloud-native benefit.
A common mistake is selecting a strategy without a deep technical understanding of the application. Let's analyze the options.
Comparing the 7 R's of Cloud Migration Strategies
Choosing the correct "R" is one of the most critical technical decisions in the migration process. Each path represents a different level of investment and delivers a distinct outcome. This table breaks down the technical considerations for each workload.
| Strategy | Description | Effort/Complexity | Cost Impact | Best For |
|---|---|---|---|---|
| Rehost (Lift-and-Shift) | Migrating virtual or physical servers to cloud IaaS instances (e.g., EC2, Azure VMs) with no changes to the OS or application code. | Low. Primarily an infrastructure operation, often automated with block-level replication tools. | Low initial cost, but can lead to higher long-term operational costs due to unoptimized resource consumption. | COTS applications, legacy systems with unavailable source code, or rapid data center evacuation scenarios. |
| Replatform (Lift-and-Tinker) | Migrating an application with minor modifications to leverage cloud-managed services. Example: changing a database connection string to point to a managed RDS or Azure SQL instance. | Low-to-Medium. Requires minimal code or configuration changes. | Medium. Slightly higher upfront effort yields significant reductions in operational overhead and improved reliability. | Applications using standard components (e.g., MySQL, PostgreSQL, MS SQL) that can be easily swapped for managed cloud equivalents. |
| Repurchase (Drop-and-Shop) | Decommissioning an on-premise application and migrating its data to a SaaS platform. | Low. The primary effort is focused on data extraction, transformation, and loading (ETL), plus user training and integration. | Variable. Converts capital expenditures (CapEx) to a predictable operational expenditure (OpEx) subscription model. | Commodity functions like CRM, HR, email, or financial systems where a vendor-managed SaaS solution meets business requirements. |
| Refactor/Rearchitect | Fundamentally altering the application's architecture to be cloud-native, such as decomposing a monolithic application into microservices running in containers. | Very High. A significant software development and architectural undertaking. | High. Requires substantial investment in developer time and specialized skills. | Core, business-critical applications where achieving high scalability, performance, and agility provides a significant competitive advantage. |
| Relocate | Migrating an entire virtualized environment (e.g., a VMware vSphere cluster) to a dedicated cloud offering without converting individual VMs. | Low. Utilizes specialized, highly-automated tools for hypervisor-to-hypervisor migration. | Medium. Can be highly cost-effective for large-scale migrations of VMware-based workloads. | Organizations with a heavy investment in VMware seeking the fastest path to cloud with minimal operational changes. |
| Retain | Making a strategic decision to keep an application in its current on-premise environment. | None. The application is not migrated. | None (initially), but incurs the ongoing cost of maintaining the on-premise infrastructure. | Applications with ultra-low latency requirements (e.g., factory floor systems), specialized hardware dependencies, or complex regulatory constraints. |
| Retire | Decommissioning an application that is no longer required by the business. | Low. Involves data archival according to retention policies and shutting down associated infrastructure. | Positive. Immediately eliminates all infrastructure, licensing, and maintenance costs associated with the application. | Redundant, obsolete, or low-value applications identified during the initial discovery and assessment phase. |
These strategies represent a spectrum from simple infrastructure moves to complete application transformation. The optimal choice is always context-dependent.
-
Rehost (Lift-and-Shift): This is your fastest migration path. It's a pure infrastructure play, ideal for legacy applications you cannot modify or when facing a strict deadline to exit a data center.
-
Replatform (Lift-and-Tinker): A pragmatic middle ground. You migrate the application while making targeted optimizations. The classic example is replacing a self-managed database server with a managed service like Amazon RDS or Azure SQL Database. This reduces operational burden without a full rewrite.
-
Repurchase (Drop-and-Shop): Involves migrating from a self-hosted application to a SaaS equivalent. For example, moving from a local Exchange server to Microsoft 365 or a custom CRM to Salesforce.
-
Refactor/Rearchitect: This is the most complex path, involving rewriting application code to leverage cloud-native patterns like microservices, serverless functions, and managed container orchestration. It's expensive and time-consuming but unlocks maximum cloud benefits. For older, critical systems, explore various legacy system modernization strategies to approach this correctly.
The decision to refactor is a major strategic commitment. It should be reserved for core applications where achieving superior scalability, performance, and agility will generate substantial business value. Do not attempt to refactor every application.
-
Relocate: A specialized, hypervisor-level migration for large VMware environments. Services like VMware Cloud on AWS allow moving vSphere workloads without re-platforming individual VMs, offering a rapid migration path for VMware-centric organizations.
-
Retain: Sometimes, the correct technical decision is not to migrate. An application may have extreme latency requirements, specialized hardware dependencies, or compliance rules that mandate an on-premise location.
-
Retire: A highly valuable outcome of the discovery phase. Identifying and decommissioning unused or redundant applications provides a quick win by eliminating unnecessary migration effort and operational costs.
Matching Strategies to Cloud Providers
Your choice of cloud provider can influence your migration strategy, as each has distinct technical strengths.
-
AWS offers the broadest and deepest set of services, making it ideal for complex refactoring and building new cloud-native applications. Services like AWS Lambda for serverless and EKS for managed Kubernetes are industry leaders.
-
Azure excels for organizations heavily invested in the Microsoft ecosystem. Replatforming Windows Server, SQL Server, and Active Directory workloads to Azure is often the most efficient path due to seamless integration and hybrid capabilities.
-
Google Cloud has strong capabilities in containers and Kubernetes, making GKE a premier choice for re-architecting applications into microservices. Its data analytics and machine learning services are also a major draw for data-intensive workloads.
To further inform your technical approach, review these 10 Cloud Migration Best Practices for practical, experience-based advice.
Designing a Secure Cloud Landing Zone
With a migration strategy defined, you must now construct the foundational cloud environment. This is the "landing zone"—a pre-configured, secure, and compliant launchpad for your workloads.
A well-architected landing zone is not an afterthought; it is the bedrock of your entire cloud operation. A poorly designed one leads to security vulnerabilities, cost overruns, and operational chaos.
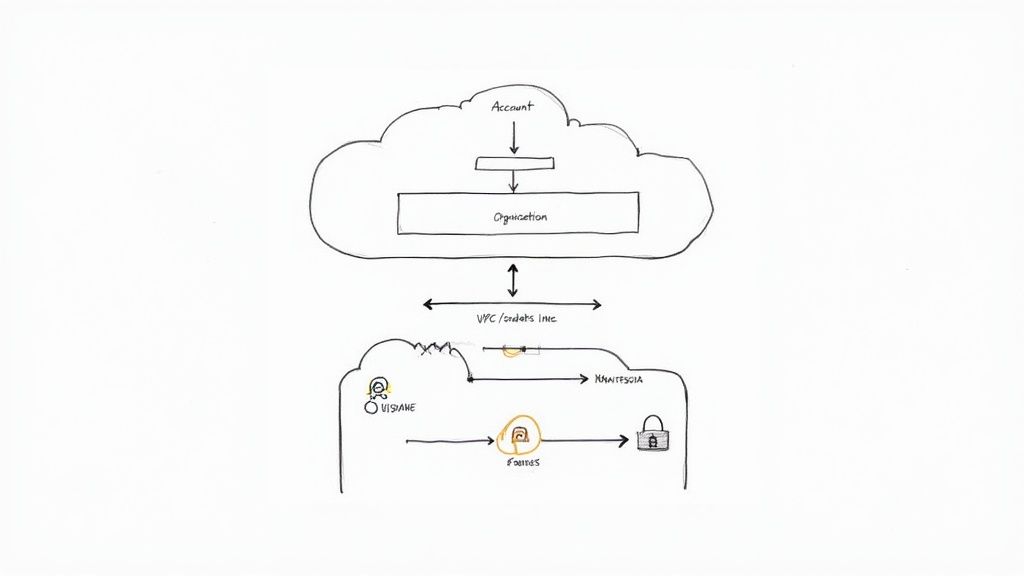
Establish a Logical Account Structure
Before deploying any resources, design a logical hierarchy for your cloud accounts to enforce security boundaries, segregate billing, and simplify governance. In AWS, this is achieved with AWS Organizations; in Azure, with Azure Management Groups.
Avoid deploying all resources into a single account. A multi-account structure is the standard best practice. A common and effective pattern is:
- A root/management account: This top-level account is used exclusively for consolidated billing and identity management. Access should be highly restricted.
- Organizational Units (OUs): Group accounts logically, for instance, by environment (Production, Development, Sandbox) or by business unit.
- Individual accounts: Each account within an OU is an isolated resource container. For example, your production e-commerce application and its related infrastructure reside in a dedicated account under the "Production" OU.
This structure establishes a clear "blast radius." A security incident or misconfiguration in a development account is contained and cannot affect the production environment.
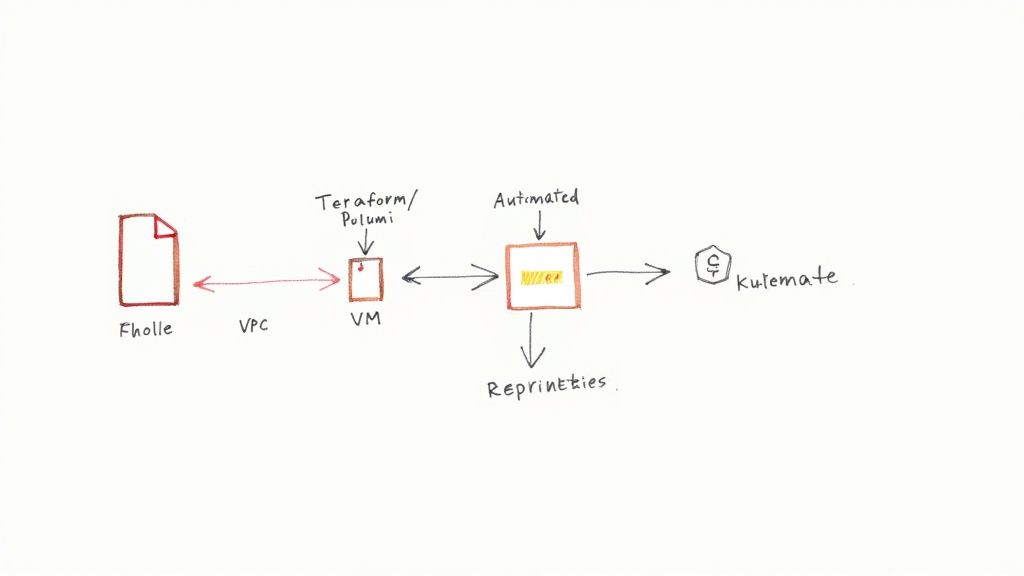
Lay Down Core Networking and Connectivity
The next step is to engineer the network fabric. This involves setting up Virtual Private Clouds (VPCs in AWS) or Virtual Networks (VNets in Azure). The hub-and-spoke network topology is a proven, scalable design.
The "hub" VNet/VPC contains shared services like DNS resolvers, network monitoring tools, and the VPN Gateway or Direct Connect/ExpressRoute connection to your on-premise network.
The "spoke" VNets/VPCs host your applications. Each spoke peers with the central hub, which controls traffic routing between spokes and to/from the on-premise network and the internet.
Within each VPC/VNet, subnet design is critical for security:
- Public Subnets: These are for internet-facing resources like load balancers and bastion hosts. They have a route to an Internet Gateway.
- Private Subnets: This is where application servers and databases must reside. They have no direct route to the internet. Outbound internet access is provided via a NAT Gateway deployed in a public subnet.
This segregation is a foundational security control that shields critical components from direct external attack.
Cloud security is not about building a single perimeter wall; it's about defense-in-depth. This principle assumes any single security control can fail. Therefore, you must implement multiple, overlapping controls. A well-designed, segregated network is your first and most important layer.
Implement Identity and Access Management
Identity and Access Management (IAM) governs who can perform what actions on which resources. The guiding principle is least privilege: grant users and services the absolute minimum set of permissions required to perform their functions.
Avoid using the root user for daily administrative tasks. Instead, create specific IAM roles with finely-grained permissions tailored to each task. For example, a developer's role might grant read-only access to production S3 buckets but full administrative control within their dedicated development account.
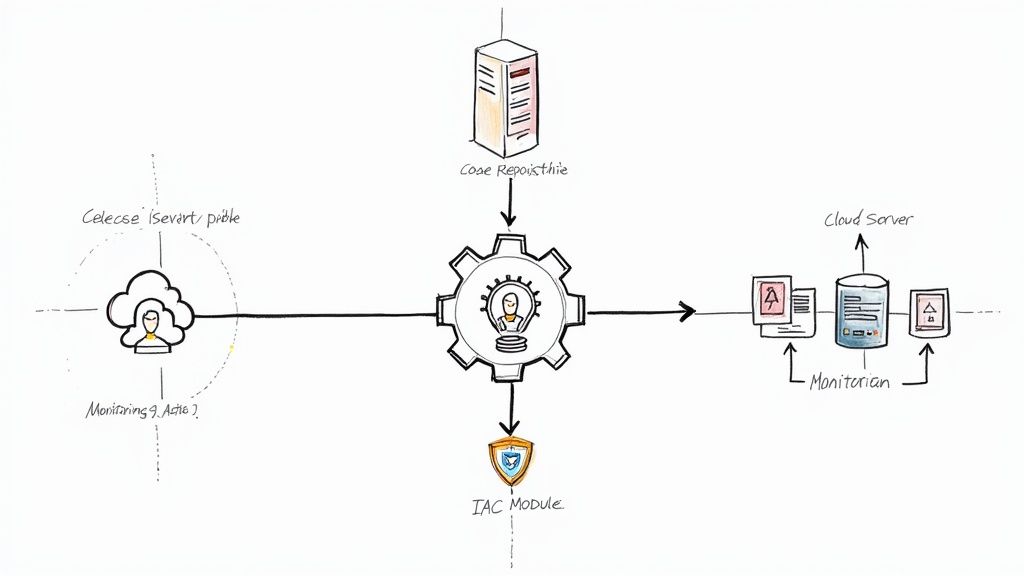
The only way to manage this securely and consistently at scale is by codifying your landing zone using tools like Terraform or CloudFormation. This makes your entire setup version-controlled, repeatable, and auditable. Adhering to Infrastructure as Code best practices is essential.
This IaC approach mitigates one of the most significant security risks: human error. Misconfigurations are a leading cause of cloud data breaches. Building a secure, well-architected landing zone from day one establishes a solid foundation for a successful and safe cloud journey.
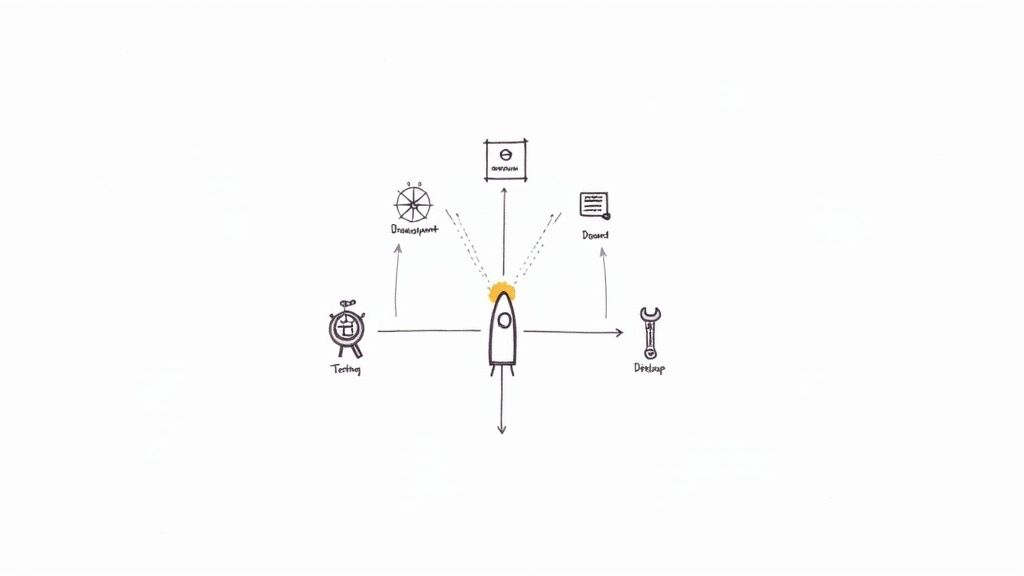
Executing a Phased and Controlled Migration
With your secure landing zone established, it's time to transition from planning to execution. A cloud migration should never be a "big bang" event. This approach is unacceptably risky for any non-trivial system.
Instead, the migration must be a methodical, phased process designed to minimize risk, validate technical assumptions, and build operational experience.
https://www.youtube.com/embed/2hICfmrvk5s
The process should be broken down into manageable migration waves. The initial wave should consist of applications that are low-risk but complex enough to test the end-to-end migration process, tooling, and team readiness.
An internal-facing application or a development environment is an ideal candidate. This first wave serves as a proof of concept, allowing you to debug your automation, refine runbooks, and provide the team with hands-on experience before migrating business-critical workloads.
Mastering Replication and Synchronization Tools
The technical core of a live migration is server replication. The goal is to create a byte-for-byte replica of your source servers in the cloud without requiring significant downtime for the source system. This requires specialized tools.
Services like AWS Application Migration Service (MGN) install a lightweight agent on your source servers (physical, virtual, or another cloud). This agent performs continuous, block-level replication of disk changes to a low-cost staging area in your AWS account. Similarly, Azure Migrate provides both agent-based and agentless replication for on-premise VMware or Hyper-V VMs to Azure.
These tools are crucial because they maintain continuous data synchronization. While the on-premise application remains live, its cloud-based replica is kept up-to-date in near real-time, enabling a cutover with minimal downtime.
A common technical error is treating replication as a one-time event. It's a continuous process that must be monitored for days or weeks leading up to the cutover. It is critical to monitor the replication lag; a significant delay between the source and target systems will result in data loss during the final cutover.
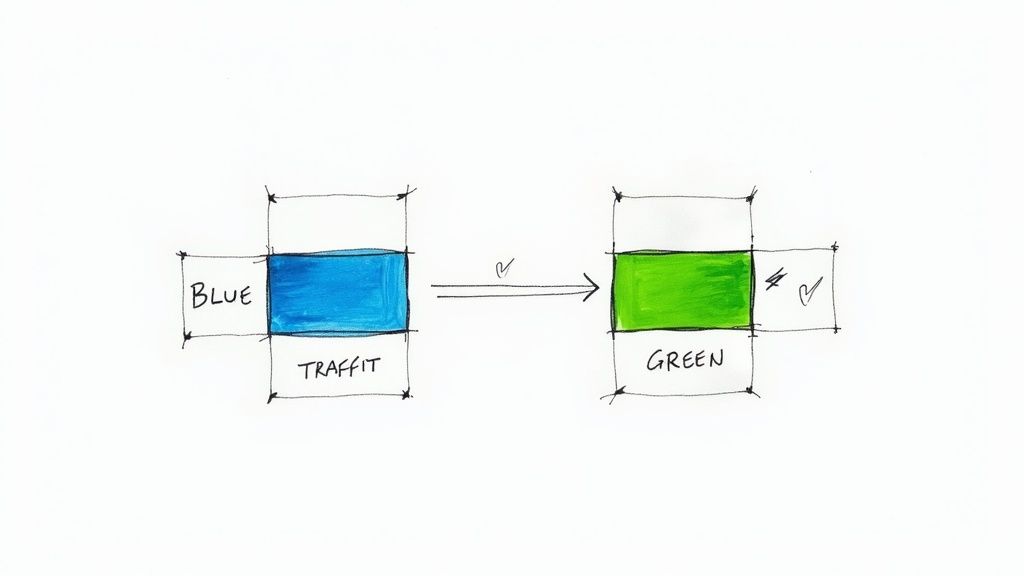
Crafting a Bulletproof Cutover Plan
The cutover is the planned event where you redirect production traffic from the legacy environment to the new cloud environment. A detailed, minute-by-minute cutover plan is non-negotiable.
This plan is an executable script for the entire migration team. It must include:
- Pre-Flight Checks: A final, automated validation that all cloud resources are deployed, security group rules are correct, and replication lag is within acceptable limits (e.g., under 5 seconds).
- The Cutover Window: A specific, pre-approved maintenance window, typically during off-peak hours (e.g., Saturday from 2 AM to 4 AM EST).
- Final Data Sync: The final synchronization process. This involves stopping the application services on the source server, executing one last replication sync to capture in-memory data and final transactions, and then shutting down the source servers.
- DNS and Traffic Redirection: The technical procedure for updating DNS records (with a low TTL) or reconfiguring load balancers to direct traffic to the new cloud endpoint IP addresses.
- Post-Migration Validation: A comprehensive suite of automated and manual tests to confirm the application is fully functional. This includes health checks, API endpoint validation, database connectivity tests, and key user workflow tests.
This sequence requires precise, cross-functional coordination. The network, database, and application teams must conduct a full dry-run of the cutover plan in a non-production environment.
The Critical Importance of a Rollback Plan
Hope is not a viable engineering strategy. Regardless of confidence in the migration plan, you must have a documented and tested rollback procedure. This plan defines the exact steps to take if post-migration validation fails.
The rollback plan is your escape hatch.
It details the precise steps to redirect traffic back to the original on-premise environment. Since the source servers were shut down, not deleted, they can be powered back on, and the DNS changes can be reverted.
The decision to execute a rollback must be made swiftly based on pre-defined criteria. For example, a clear rule could be: if the application is not fully functional and passing all validation tests within 60 minutes of the cutover, the rollback plan is initiated. Having a pre-defined trigger removes ambiguity during a high-stress event, making the process of how to migrate to cloud safer and more predictable.
Optimizing Performance and Managing Cloud Costs
Your applications are live in the cloud. The migration was successful. This is not the end of the project; it is the beginning of the continuous optimization phase.
This post-migration phase is where you transform the initial migrated workload into a cost-effective, high-performance, cloud-native solution. Neglecting this step means leaving the primary benefits of the cloud—elasticity and efficiency—on the table.
Tuning Your Cloud Engine for Peak Performance
The initial instance sizing was an estimate based on on-premise data. Now, with workloads running in the cloud, you have real-world performance data to drive optimization.
Right-sizing compute instances is the first step. Use the provider's monitoring tools, like AWS CloudWatch or Azure Monitor, to analyze performance metrics. Identify instances with average CPU utilization consistently below 20%; these are prime candidates for downsizing to a smaller, less expensive instance type.
Conversely, an instance with CPU utilization consistently above 80% is a performance bottleneck. This instance should be scaled up or, preferably, placed into an auto-scaling group.
Implementing Dynamic Scalability
Auto-scaling is a core cloud capability. Instead of provisioning for peak capacity 24/7, you define policies that automatically scale the number of instances based on real-time metrics.
- For a web application tier, configure a policy to add a new instance when the average CPU utilization across the fleet exceeds 60% for five consecutive minutes. Define a corresponding scale-in policy to terminate instances when utilization drops.
- For asynchronous job processing, scale your worker fleet based on the number of messages in a queue like Amazon SQS or Azure Queue Storage.
This dynamic approach ensures you have the necessary compute capacity to meet demand while eliminating expenditure on idle resources during off-peak hours.
Think of auto-scaling as an elastic guardrail for performance and cost. It protects the user experience by preventing overloads while simultaneously protecting your budget from unnecessary spending on idle resources.
Mastering Cloud Financial Operations
While performance tuning inherently reduces costs, a dedicated cost management practice, known as FinOps, is essential. FinOps brings financial accountability and data-driven decision-making to the variable spending model of the cloud.
While most companies save 20-30% on IT costs post-migration, a staggering 27% of cloud spend is reported as waste due to poor resource management. FinOps aims to eliminate this waste.
Utilize native cost management tools extensively:
- AWS Cost Explorer: Provides tools to visualize, understand, and manage your AWS costs and usage over time.
- Azure Cost Management + Billing: Offers a similar suite for analyzing costs, setting budgets, and receiving optimization recommendations.
Use these tools to identify and eliminate "cloud waste," such as unattached EBS volumes, idle load balancers, and old snapshots, which incur charges while providing no value. For a more detailed guide, see these cloud cost optimization strategies.
A Robust Tagging Strategy Is Non-Negotiable
You cannot manage what you cannot measure. A mandatory and consistent resource tagging strategy is the foundation of effective cloud financial management. Every provisioned resource—VMs, databases, storage buckets, load balancers—must be tagged.
A baseline tagging policy should include:
project: The specific application or service the resource supports (e.g.,ecommerce-prod).environment: The deployment stage (e.g.,prod,dev,staging).owner: The team or individual responsible for the resource (e.g.,backend-team).cost-center: The business unit to which the cost should be allocated.
With this metadata in place, you can generate granular cost reports, showing precisely how much the backend-team spent on the ecommerce-prod environment. This level of visibility is essential for transforming your cloud bill from an opaque, unpredictable number into a manageable, transparent operational expense.
Answering the Tough Cloud Migration Questions
Even with a detailed plan, complex technical challenges will arise. The optimal solution always depends on your specific application architecture, data, and business requirements.
Let's address some of the most common technical questions that arise during migration projects.
How Do We Actually Move a Giant Database Without Taking the Site Down for Hours?
Migrating a multi-terabyte, mission-critical database with minimal downtime is a common challenge. A simple "dump and restore" operation is not feasible due to the extended outage it would require.
The solution is to use a continuous data replication service. Tools like AWS Database Migration Service (DMS) or Azure Database Migration Service are purpose-built for this scenario.
The technical process is as follows:
- Initial Full Load: The service performs a full copy of the source database to the target cloud database. The source database remains fully online and operational during this phase.
- Continuous Replication (Change Data Capture – CDC): Once the full load is complete, the service transitions to CDC mode. It captures ongoing transactions from the source database's transaction log and applies them to the target database in near real-time, keeping the two synchronized.
- The Cutover: During a brief, scheduled maintenance window, you stop the application, wait for the replication service to apply any final in-flight transactions (ensuring the target is 100% synchronized), and then update the application's database connection string to point to the new cloud database endpoint.
This methodology reduces a potential multi-hour outage to a matter of minutes.
What’s the Right Way to Think About Security and Compliance in the Cloud?
Security cannot be an afterthought; it must be designed into the cloud architecture from the beginning. The traditional on-premise security model of a strong perimeter firewall is insufficient in the cloud. The modern paradigm is identity-centric and data-centric.
The architectural mindset must shift to a "zero trust" model. Do not implicitly trust any user or service, even if it is "inside" your network. Every request must be authenticated, authorized, and encrypted.
Implementing this requires a layered defense strategy:
- Identity and Access Management (IAM): Implement the principle of least privilege with surgical precision. Define IAM roles and policies that grant only the exact permissions required for a specific function.
- Encrypt Everything: All data must be encrypted in transit (using TLS 1.2 or higher) and at rest. Use managed services like AWS KMS or Azure Key Vault to manage encryption keys securely.
- Infrastructure as Code (IaC): Define all security configurations—security groups, network ACLs, IAM policies—as code using Terraform or CloudFormation. This makes your security posture version-controlled, auditable, and less susceptible to manual configuration errors.
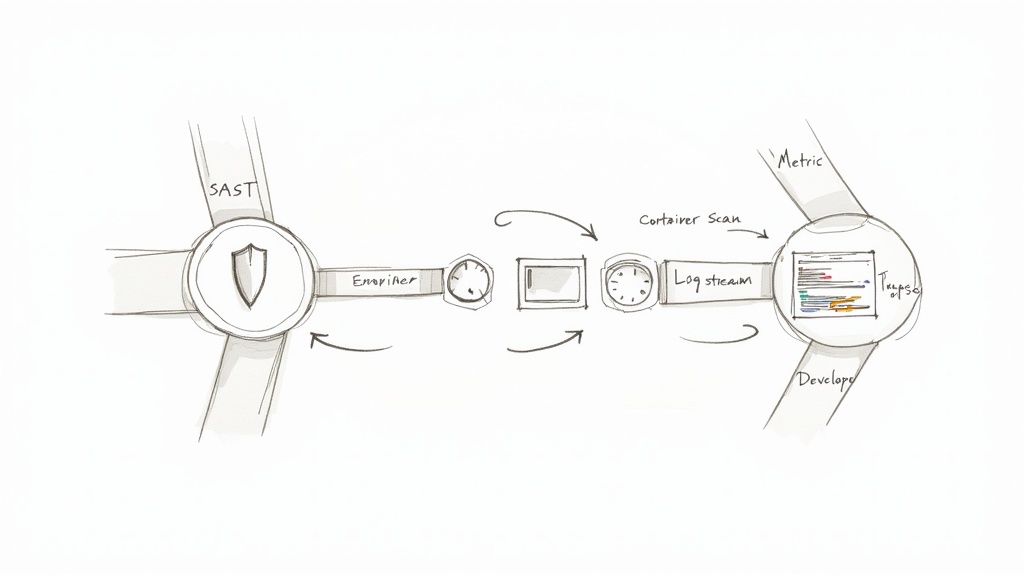
- Continuous Monitoring: Employ threat detection services like AWS GuardDuty or Azure Sentinel. Leverage established security benchmarks like the CIS Foundations Benchmark to audit your configuration against industry best practices.
How Do We Keep Our Cloud Bills from Spiraling Out of Control?
The risk of "bill shock" is a valid concern. The pay-as-you-go model offers great flexibility but can lead to significant cost overruns without disciplined financial governance.
Cost management must be a proactive, continuous process.
- Set Budgets and Alerts: Immediately configure billing alerts in your cloud provider's console. Set thresholds to be notified when spending forecasts exceed your budget, allowing you to react before a minor overage becomes a major financial issue.
- Enforce Strict Tagging: A mandatory tagging policy is non-negotiable. Use policy enforcement tools (e.g., AWS Service Control Policies) to prevent the creation of untagged resources. This is the only way to achieve accurate cost allocation.
- Commit to Savings Plans: For any workload with predictable, steady-state usage (like production web servers or databases), leverage commitment-based pricing models. Reserved Instances (RIs) or Savings Plans can reduce compute costs by up to 72% compared to on-demand pricing in exchange for a one or three-year commitment.
Navigating the complexities of a cloud migration requires deep technical expertise. At OpsMoon, we connect you with the top 0.7% of DevOps engineers to ensure your project is architected for security, performance, and cost-efficiency from day one. Plan your cloud migration with our experts today.