For developers, the first question about Kubernetes is simple: is this another complex tool for the ops team, or does it directly improve my development workflow?
The answer is a definitive yes. Kubernetes empowers you to build, test, and deploy applications with a level of consistency and speed that finally eliminates the classic "it works on my machine" problem. This guide provides actionable, technical steps to integrate Kubernetes into your daily workflow.
Why Developers Should Care About Kubernetes
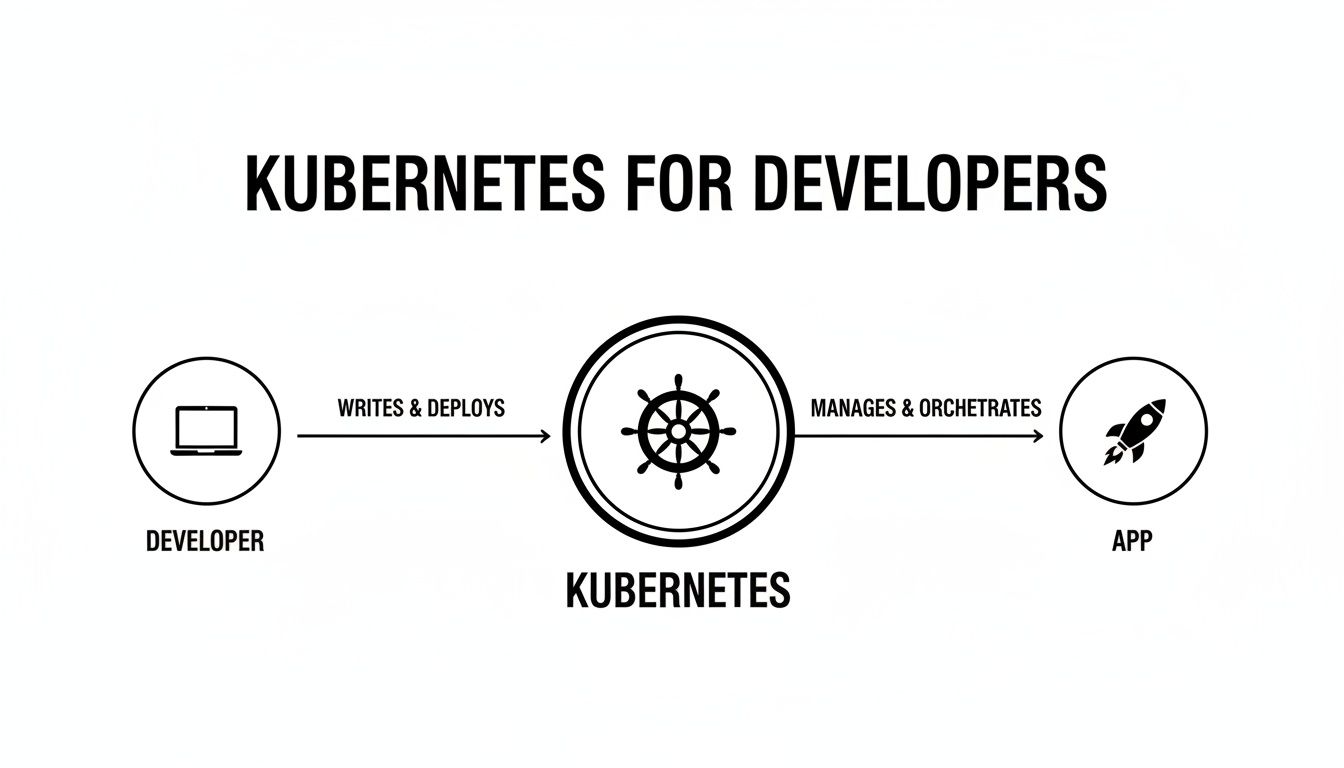
Kubernetes can seem like a world of endless YAML files and cryptic kubectl commands, something best left to operations. But that view misses the point. Kubernetes isn't just about managing servers; it’s about giving you, the developer, programmatic control over your application's entire lifecycle through declarative APIs.
Thinking of Kubernetes as just an ops tool is a fundamental misunderstanding. It's an orchestrated system designed for predictable application behavior. Your containerized application is a standardized, immutable artifact. Kubernetes is the control plane that ensures this artifact runs reliably, scales correctly, and recovers from failures automatically.
From Local Code to Production Cloud
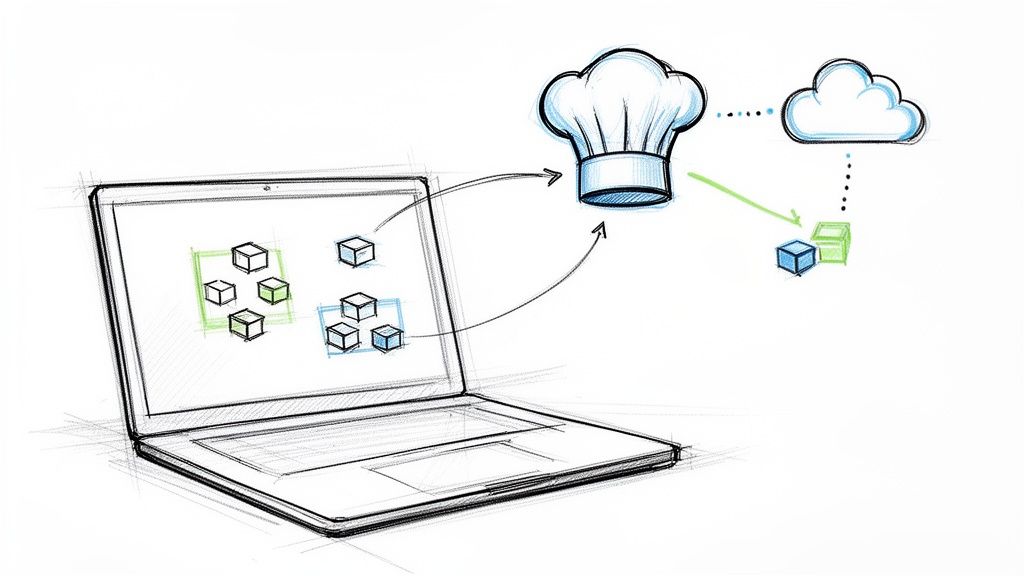
The core promise of Kubernetes for developers is environment parity. The exact same container configuration and declarative manifests you run locally with tools like Minikube or Docker Desktop are what get deployed to production. This consistency eliminates an entire class of bugs that arise from subtle differences between dev, staging, and production environments.
This isn't a niche technology. The latest data shows that 5.6 million developers worldwide now use Kubernetes. On the backend, about 30% of all developers are building on Kubernetes, making it the industry standard for cloud-native application deployment. You can find more details in recent research from SlashData.
When you adopt Kubernetes, you're not just learning a new tool. You're adopting a workflow that radically shortens your feedback loops by providing a production-like environment on your local machine. You gain true ownership over your microservices and control your application's deployment lifecycle through code.
Understanding Kubernetes Core Concepts for Coders
Let's skip the abstract definitions and focus on the technical implementation of core Kubernetes objects. These API resources are the building blocks you'll use to define how your application runs. You define them in YAML and apply them to the cluster using kubectl apply -f <filename>.yaml.
The primary function of Kubernetes is to act as a reconciliation engine. You declare the desired state of your application in YAML manifests, and the Kubernetes control plane works continuously to make the cluster's actual state match your declaration.
This workflow illustrates how your code, packaged as a container image, is handed to the Kubernetes scheduler, which then places it on a worker node to run as a live, orchestrated application.
Pods: The Atomic Scheduling Unit
The most fundamental building block in Kubernetes is the Pod. It is the smallest and simplest unit in the Kubernetes object model that you create or deploy. A Pod represents a single instance of a running process in your cluster. It encapsulates one or more containers (like Docker containers), storage resources (volumes), a unique network IP, and options that govern how the container(s) should run.
While a Pod can run multiple tightly-coupled containers that share a network namespace (a "sidecar" pattern), the most common use case is a one-to-one mapping: one Pod encapsulates one container. This isolation is key. Every Pod is assigned its own internal IP address within the cluster, enabling communication between services without manual network configuration.
Deployments: The Declarative Application Manager
You almost never create Pods directly. Instead, you use higher-level objects like a Deployment. A Deployment is a declarative controller that manages the lifecycle of a set of replica Pods. You specify a desired state in the Deployment manifest, and the Deployment Controller changes the actual state to the desired state at a controlled rate.
You tell the Deployment, "I need three replicas of my application running the nginx:1.14.2 container image." The Deployment controller instructs the scheduler to find nodes for three Pods. If a Pod crashes, the controller instantly creates a replacement. This self-healing is one of the most powerful features of Kubernetes.
A Deployment is all about maintaining a desired state. Its
spec.replicasfield defines the number of Pods, and thespec.templatefield defines the Pod specification. Kubernetes works tirelessly to ensure the number of running Pods matches this declaration.
Services: The Stable Network Abstraction
Since Pods are ephemeral—they can be created and destroyed—their IP addresses are not stable. Trying to connect directly to a Pod IP is brittle and unreliable.
This is where the Service object is critical. A Service provides a stable network endpoint (a single, unchanging IP address and DNS name) for a set of Pods. It uses a selector to dynamically identify the group of Pods it should route traffic to. This completely decouples clients from the individual Pods, ensuring reliable communication.
For example, a Service with selector: {app: my-api} will load-balance traffic across all Pods that have the label app: my-api.
ConfigMaps and Secrets: The Configuration Primitives
Hardcoding configuration data into your container images is a critical anti-pattern. Kubernetes provides two dedicated objects for managing configuration externally.
- ConfigMaps: Store non-sensitive configuration data as key-value pairs. You can inject this data into your Pods as environment variables or as mounted files in a volume.
- Secrets: Used for sensitive data like API keys, database passwords, and TLS certificates. Secrets are stored base64-encoded by default and offer more granular access control mechanisms within the cluster (like RBAC).
This separation of configuration from the application artifact is a core principle of cloud-native development. A game-changing 41% of enterprises report their app portfolios are already predominantly cloud-native, and a massive 82% are planning to use Kubernetes for future projects. You can dive deeper into the latest cloud-native developer trends in the recent CNCF report.
Kubernetes Objects: A Developer's Cheat Sheet
This technical reference table summarizes the core Kubernetes objects from a developer's perspective.
| Kubernetes Object | Technical Function | Developer's Use Case |
|---|---|---|
| Pod | The atomic unit of scheduling; encapsulates container(s), storage, and a network IP. | Represents a running instance of your application or microservice. |
| Deployment | A controller that manages a ReplicaSet, providing declarative updates and self-healing for Pods. | Defines your application's desired state, replica count, and rolling update strategy. |
| Service | Provides a stable IP address and DNS name to load-balance traffic across a set of Pods. | Exposes your application to other services within the cluster or externally. |
| ConfigMap | An API object for storing non-confidential data in key-value pairs. | Externalizes application configuration (e.g., URLs, feature flags) from your code. |
| Secret | An API object for storing sensitive information, such as passwords, OAuth tokens, and ssh keys. | Manages credentials and other sensitive data required by your application. |
Mastering these five objects provides the foundation for building and deploying production-grade applications on Kubernetes.
Building Your Local Kubernetes Development Workflow
Switching from a simple npm start or rails server to Kubernetes can introduce friction. The cycle of building a new Docker image, pushing it to a registry, and running kubectl apply for every code change is prohibitively slow for active development.
The goal is to optimize the "inner loop"—the iterative cycle of coding, building, and testing—to be as fast and seamless on Kubernetes as it is locally. A fast, automated inner loop is the key to productive Kubernetes for developers.
Slow feedback loops are a notorious drain on developer productivity. Optimizing this cycle means you spend more time writing code and less time waiting for builds and deployments. As you get your K8s workflow dialed in, you might also find some helpful practical tips for faster coding and improving developer productivity.

Choosing Your Local Cluster Environment
First, you need a Kubernetes cluster running on your machine. Several tools provide this, each with different trade-offs in resource usage, setup complexity, and production fidelity.
If you're coming from a Docker background, you might want to check out our detailed Docker Compose tutorial to see how some of the concepts translate.
Here’s a technical breakdown of popular local cluster tools:
| Tool | Architecture | Best For | Technical Advantage |
|---|---|---|---|
| Minikube | Single-node cluster inside a VM (e.g., HyperKit, VirtualBox) or container. | Beginners and straightforward single-node testing. | Simple minikube start/stop/delete lifecycle. Good for isolated environments. |
| kind (Kubernetes in Docker) | Runs Kubernetes cluster nodes as Docker containers. | Testing multi-node setups and CI environments. | High fidelity to production multi-node clusters; fast startup and teardown. |
| Docker Desktop | Single-node cluster integrated into the Docker daemon. | Developers heavily invested in the Docker ecosystem. | Zero-config setup; seamless integration with Docker tools and dashboard. |
For most developers, kind or Docker Desktop offers the best balance. Kind provides high-fidelity, multi-node clusters with low overhead, while Docker Desktop offers unparalleled convenience for those already using it.
Automating Your Workflow with Skaffold
Manually running docker build, docker push, and kubectl apply repeatedly is inefficient. A tool like Skaffold automates this entire build-and-deploy pipeline, watching your local source code for changes.
When you save a file, Skaffold detects the change, rebuilds the container image, and redeploys it to your local cluster in seconds.
To set it up, you create a skaffold.yaml file in your project's root. This file declaratively defines the build and deployment stages of your application.
Skaffold bridges the gap between the speed of traditional local development and the power of a real container-orchestrated environment, providing the best of both worlds with minimal configuration.
A Practical Skaffold Example
Here is a minimal skaffold.yaml for a Node.js application. This assumes you have a Dockerfile for building your image and a Kubernetes manifest file named k8s-deployment.yaml.
# skaffold.yaml
apiVersion: skaffold/v4beta7
kind: Config
metadata:
  name: my-node-app
build:
  artifacts:
    - image: my-node-app # The name of the image to build
      context: . # The build context is the current directory
      docker:
        dockerfile: Dockerfile # Points to your Dockerfile
deploy:
  kubectl:
    manifests:
      - k8s-deployment.yaml # Points to your Kubernetes manifests
With this file in your project, you start the development loop with a single command:
skaffold dev
Now, Skaffold performs the following actions:
- Watch: It monitors your source files for any changes.
- Build: On save, it automatically rebuilds your Docker image. For local development, it intelligently loads the image directly into your local cluster's Docker daemon, skipping a slow push to a remote registry.
- Deploy: It applies your
k8s-deployment.yamlmanifest, triggering a rolling update of your application in the cluster.
This instant feedback loop makes iterating on a Kubernetes-native application feel fluid and natural, allowing you to focus on writing code, not on manual deployment chores.
Debugging Your Application Inside a Live Cluster
Once your application is running inside a Kubernetes Pod, you can no longer attach a local debugger directly. The code is executing in an isolated network namespace within the cluster. This abstraction is great for deployment but complicates debugging.
Kubernetes provides a powerful set of tools to enable interactive debugging of live, containerized applications. Mastering these kubectl commands is essential for any developer working with Kubernetes.
Streaming Logs in Real-Time
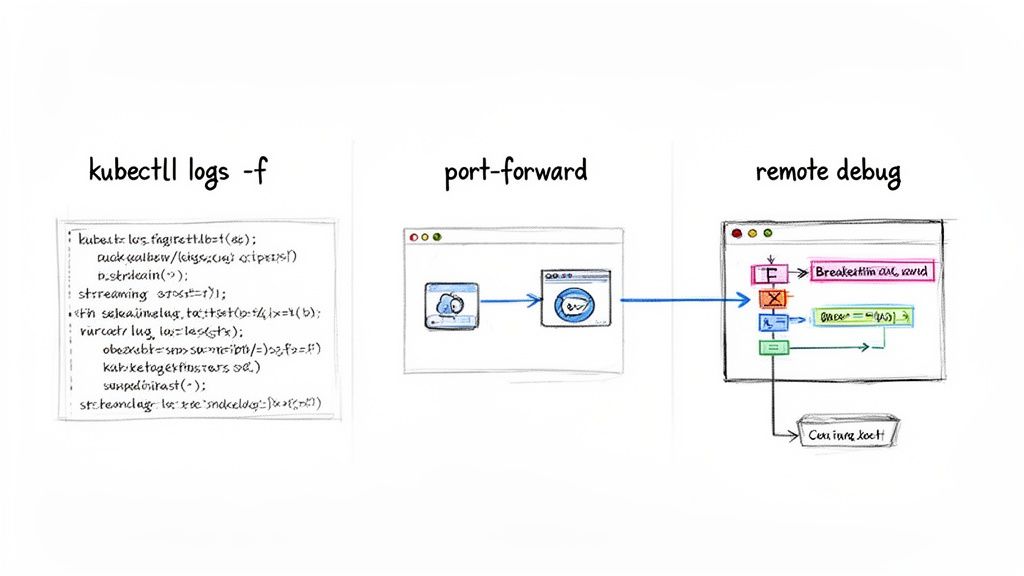
The most fundamental debugging technique is tailing your application's log output. The kubectl logs command streams the stdout and stderr from a container within a Pod.
First, get the name of your Pod (kubectl get pods), then stream its logs:
kubectl logs -f <your-pod-name>
This provides immediate, real-time feedback for diagnosing errors, observing startup sequences, or monitoring request processing. Effective logging is the foundation of observability. For a deeper dive, check out these Kubernetes monitoring best practices.
Accessing Your Application Locally
Often, you need to interact with your application directly with a browser, an API client like Postman, or a database tool. While a Kubernetes Service might expose your app inside the cluster, it's not directly accessible from your localhost.
Port-forwarding solves this. The kubectl port-forward command creates a secure tunnel from your local machine directly to a Pod inside the cluster. It maps a local port to a port on the target Pod.
To forward a local port to a Pod managed by a Deployment:
kubectl port-forward deployment/<your-deployment-name> 8080:80
This command instructs
kubectl: "Forward all traffic from my local port 8080 to port 80 on a Pod managed by<your-deployment-name>." You can now access your application athttp://localhost:8080as if it were running locally.
Connecting Your IDE for Remote Debugging
For the deepest level of insight, nothing beats connecting your IDE's debugger directly to the process running inside a Pod. This allows you to set breakpoints, inspect variables, step through code line-by-line, and analyze the call stack of the live application.
This process involves two steps:
- Enable the Debug Agent: Configure your application's runtime to start with a debugging agent listening on a specific network port.
- Port-Forward the Debug Port: Use
kubectl port-forwardto create a tunnel from your local machine to that debug port inside the container.
Let's walk through a technical example with a Node.js application.
Hands-On Example: Remote Debugging Node.js
First, modify your Dockerfile to expose the debug port and adjust the startup command. The --inspect=0.0.0.0:9229 flag tells the Node.js process to listen for a debugger on port 9229 and bind to all network interfaces.
# Dockerfile
...
# Expose the application port and the debug port
EXPOSE 3000 9229

# Start the application with the debug agent enabled
CMD [ "node", "--inspect=0.0.0.0:9229", "server.js" ]
After rebuilding and deploying the image, use kubectl port-forward to connect your local machine to the exposed debug port:
kubectl port-forward deployment/my-node-app 9229:9229
Finally, configure your IDE (like VS Code) to attach to a remote debugger. In your .vscode/launch.json file, create an "attach" configuration:
{
  "version": "0.2.0",
  "configurations": [
    {
      "name": "Attach to Remote Node.js",
      "type": "node",
      "request": "attach",
      "port": 9229,
      "address": "localhost",
      "localRoot": "${workspaceFolder}",
      "remoteRoot": "/usr/src/app"
    }
  ]
}
Launching this debug configuration connects your IDE through the tunnel directly to the Node.js process inside the Pod. You can now set breakpoints and step through code that is executing live inside your Kubernetes cluster.
Automating Deployments with a CI/CD Pipeline
Connecting your local development loop to a reliable, automated deployment process is where Kubernetes delivers its full value. Manual deployments are error-prone and unscalable. A well-designed Continuous Integration and Continuous Delivery (CI/CD) pipeline automates the entire path from code commit to a live, running application.
This section outlines a modern pipeline using automated checks and a Git-centric deployment model.
Building the CI Foundation with GitHub Actions
Continuous Integration (CI) is the process of taking source code, validating it, and packaging it into a production-ready container image. A tool like GitHub Actions allows you to define and execute these automated workflows directly from your repository.
A robust CI workflow for a containerized application includes these steps:
- Trigger on Push: The workflow is triggered automatically on pushes to a specific branch, like
main. - Run Tests: The full suite of unit and integration tests is executed. A single test failure halts the pipeline, preventing regressions.
- Scan for Vulnerabilities: A security scanner like Trivy is used to scan the base image and application dependencies for known CVEs.
- Build and Push Image: If all checks pass, the workflow builds a new Docker image, tags it with an immutable identifier (like the Git commit SHA), and pushes it to a container registry (e.g., Docker Hub, GCR).
This process ensures every image in your registry is tested, secure, and traceable. For a deeper dive, you can explore our guides on setting up a robust Kubernetes CI/CD pipeline.
Embracing GitOps for Continuous Delivery
With a trusted container image available, Continuous Delivery (CD) is the process of deploying it to the cluster. We'll use a modern paradigm called GitOps, implemented with a tool like Argo CD.
The core principle of GitOps is that your Git repository is the single source of truth for the desired state of your application. Instead of running imperative kubectl apply commands, you declaratively define your application's configuration in a Git repository.
GitOps decouples the CI process (building an image) from the CD process (deploying it). The CI pipeline's only responsibility is to produce a verified container image. The deployment itself is managed by a separate, observable, and auditable process.
This provides an immutable, version-controlled audit trail of every change to your production environment. Rolling back a deployment is as simple and safe as a git revert.
How Argo CD Powers the GitOps Workflow
Argo CD is a declarative GitOps tool that runs inside your Kubernetes cluster. Its primary responsibility is to ensure the live state of your cluster matches the state defined in your Git repository.
The workflow is as follows:
- Configuration Repository: A dedicated Git repository stores your Kubernetes YAML manifests (Deployments, Services, etc.).
- Argo CD Sync: You configure Argo CD to monitor this repository.
- Deployment Trigger: To deploy a new version of your application, you do not use
kubectl. Instead, you open a pull request in the configuration repository to update the image tag in your Deployment manifest. - Automatic Synchronization: Once the PR is merged, Argo CD detects a drift between the live cluster state and the desired state in Git. It automatically pulls the latest manifests and applies them to the cluster, triggering a controlled rolling update of your application.
This workflow empowers developers to manage deployments using Git, providing a secure, auditable, and automated path to production. As pipelines mature, observability becomes critical. 51% of experts identify observability as a top concern, second only to security (72%). Mature pipelines integrate monitoring of SLOs and SLIs, a topic you can explore by seeing what 500 experts revealed about Kubernetes adoption.
Got a solid handle on the concepts? Good. But let's be real, the day-to-day work is where the real questions pop up. Here are a few common ones I hear from developers diving into Kubernetes for the first time.
So, Do I Actually Have to Learn Go Now?
Short answer: No.
Longer answer: Absolutely not. While Kubernetes itself is written in Go, as an application developer, you interact with its declarative API primarily through YAML manifests, the kubectl CLI, and CI/CD pipeline configurations.
Your expertise in your application's language (e.g., Python, Java, Node.js) and a solid understanding of Docker are what matter most. You would only need to learn Go if you were extending the Kubernetes API itself by writing custom controllers or operators, which is an advanced use case.
Kubernetes vs. Docker Swarm: What's the Real Difference?
Think of it as two different tools for different scales.
Docker Swarm is integrated directly into the Docker engine, making it extremely simple to set up for basic container orchestration. It's a good choice for smaller-scale applications where ease of use is the primary concern.
Kubernetes, in contrast, is the de facto industry standard for large-scale, complex, and highly available systems. It has a steeper learning curve but offers a vastly larger ecosystem of tools (for monitoring, networking, security, etc.), greater flexibility, and is supported by every major cloud provider.
How Should I Handle Config and Secrets? This Seems Important.
It is important, and the golden rule is: never hardcode configuration or credentials into your container images. This is a major security vulnerability and makes your application inflexible.
Kubernetes provides two dedicated API objects for this:
- ConfigMaps: For non-sensitive configuration data like environment variables, feature flags, or service URLs. They are stored as key-value pairs and can be mounted into Pods as files or injected as environment variables.
- Secrets: For sensitive data like API keys, database passwords, and TLS certificates. They are stored base64-encoded and can be integrated with more secure storage backends like HashiCorp Vault.
I Keep Hearing About "Helm Charts." What Are They and Why Should I Care?
Deploying a complex application often involves managing multiple interdependent YAML files: a Deployment, a Service, an Ingress, a ConfigMap, Secrets, etc. Managing these manually is tedious and error-prone.
Helm is the package manager for Kubernetes.
A Helm Chart bundles all these related YAML files into a single, versioned package. It uses a templating engine, allowing you to parameterize your configurations (e.g., set the image tag or replica count during installation). Instead of applying numerous files individually, you can install, upgrade, or roll back your entire application with simple Helm commands, making your deployments repeatable and manageable.
Navigating Kubernetes is a journey, not a destination. But you don't have to go it alone. When you need expert guidance to build cloud infrastructure that’s secure, scalable, and automated, OpsMoon is here to help. Let's map out your Kubernetes strategy together in a free work planning session.
Leave a Reply